When the audio tour isn’t working, there are a few things you should check.
Podcatchers
If a Podcatcher isn’t working as it should, we recommend reading this article instead. Most misbehaving Podcatchers can be brought back in line by synchronizing them.
IDentifiers
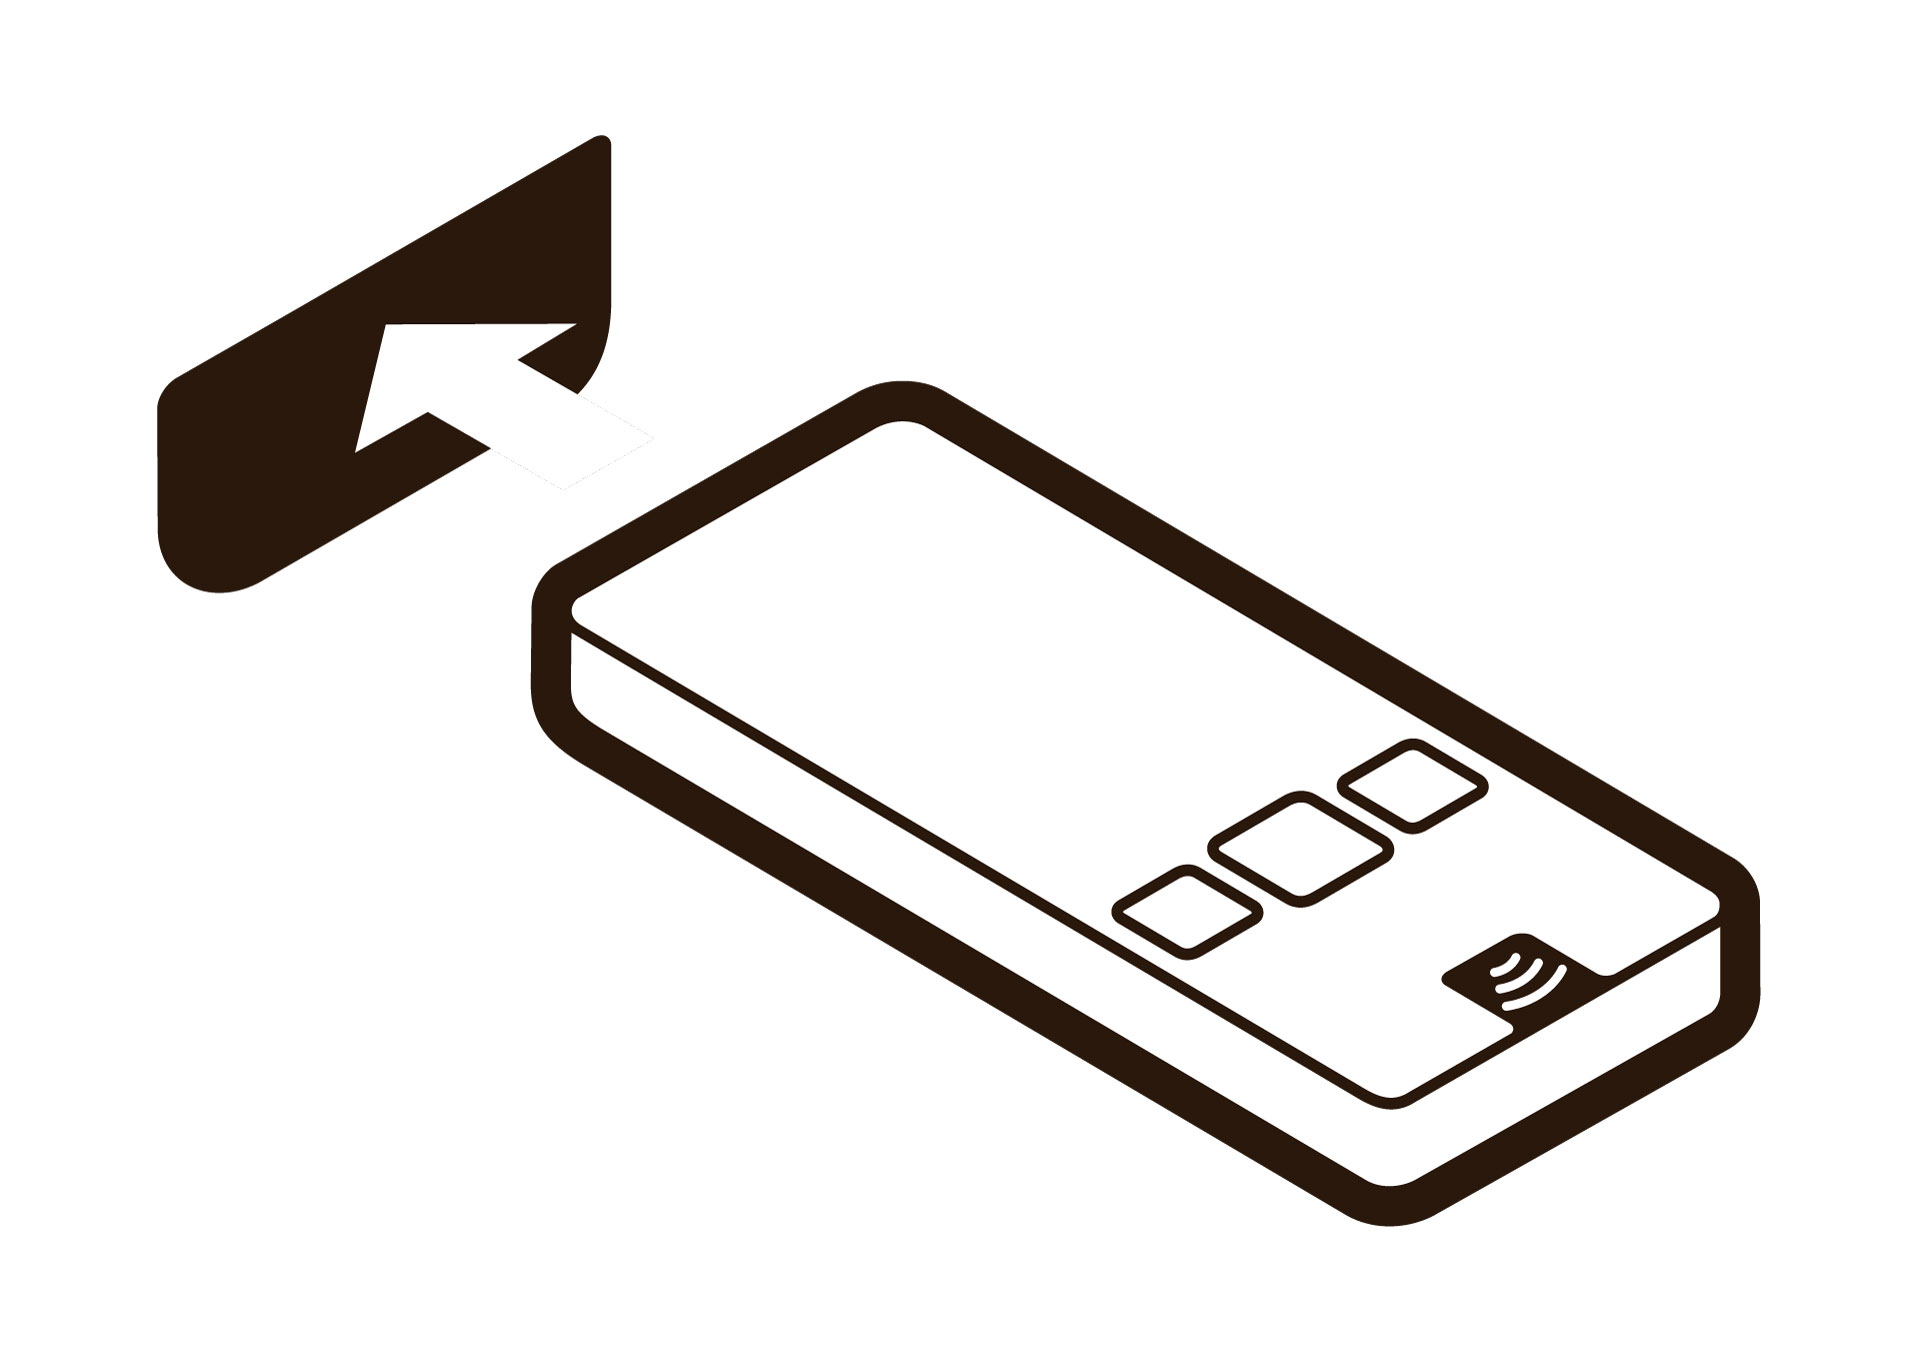
If a Podcatcher seems to not respond to one or more IDentifiers, there’s a few things you can try. First you have to make sure if you hear a beep when pointing the Podcatcher at an IDentifier.
The Podcatcher beeps when pointed at the IDentifier, and either plays the “Invalid IDentifier Stop” content or no content at all.
Make sure you activate a tour by pointing at a Start IDentifier before testing an Object IDentifier. And make sure the Stop you’re testing with is linked to the correct Tour. Read more about Start IDentifiers here.
Check if the content is published and synced.
Check if the code written on the back of the IDentifier matches the one linked in the TourEditor.
Check if the Stop has audio content.
Publish any unpublished changes in the Tour.
Sync the content onto the Podcatchers again to be sure.
If that doesn’t work, it’s possible (though rare) that the code the IDentifier sends out is different from what’s printed on the sticker. You can check this by using the Podcatcher to read the code to you. Here you can read how to do that.
The Podcatcher does not beep when pointed at the IDentifier.
This is usually a sign that the battery in the IDentifier is empty. Try with a few different Podcatchers to confirm that this might be happening (and isn’t just the Podcatcher’s fault), then replace the battery. If that doesn’t work, the IDentifier can be sent for repairs.
We hope to be helpful enough with this Knowledge Base, but it’s entirely possible you have a question that isn’t listed anywhere. Should that happen, contact us. We’ll be glad to help you get back up and running with the system.
You will always receive our Podcatchers and IDentifiers with our standard Guide-ID labels. But If you would like to customize your labels you can! To do so, you can make use of our new design and ordering method.
Depending on the country you are located in, you will receive either an accountora link to a unique page where you can design and order your labels. Customers located in the Netherlands and Belgium will reveice an account from our Customer Support department. Customers located in other countries will be able to access their own unique page with a link they will receive from our Customer Support department.
Within this account / or on this page you can create, save, order and re-order your designs now and in the future. And you will also be able to order our standard Guide-ID labels and various StartIDentifiers labels you might need.
If you are already our customer and would like to order new or additional labels, you will also be able to use our new design and ordering method from now on! Please contact our Customer Support at helpdesk@guide-id.com and we will make sure to set you up.
There are several ways to minimize the risk of losing Podcatchers. In this specsheet you’ll find a number of tips and best practices.
Other ways
When a visitor uses a Podcatcher, you can expect them to return it after use. However, some visitors may neglect, or simply forget to do so. To lower the amount of Podcatchers ‘disappearing’ over time, there are several ways to activate a warning signal built into the Podcatcher to alert visitors they should return the device.
Warning IDentifier
The Podcatcher can sound its warning signal when it receives a Warning IDentifier code. This is a special IDentifier that is typically placed near the building exit so visitors should be notified at the right time.
Warning signal after idle time
The Podcatcher can also sound an warning signal when it is engaged in a Tour but has not played audio for a while. By default this functionality is turned off, but you can set it up in the Site Podcatcher settings, under “Podcatcher idle time before alarm starts”.
The advantage of this method is that the warning signal will always sound after a while, unless properly handed in. The disadvantages are that if you set it to sound the warning signal too quickly, visitors may become annoyed; if you set it to sound the warning signal too late, the visitor may already be on the bus back home by the time it goes off. Further, if your site doesn’t collect Podcatchers in docks after visitors finish the tour (such as a drop-off box), they may start to produce a very annoying chorus over time.
Post-Alarm trigger
The Podcatcher can be made to play audio after sounding the warning signal using the Post-Alarm trigger in a stop. This will make the stop play its audio after the warning signal has stopped playing (either due to it playing for its full duration or a button being pressed). This is – as all content is – localized to the language of the tour.
Sometimes, our Podcatchers need some extra attention, for example when they get into an errormode. If this is the case, the LED light on the Podcatcher will show you. Our new and updated manual will help you prevent Podcatchers going into an error state and explain what the LED light is telling you and which action to take. The manual combines the information in 3 languages; Dutch, English and French. User manual
Podcatcher we receive for repairs often don’t include a description of what’s wrong with them, and sometimes returned players seem to work just fine. To give you a better understanding of the general meaning of the lights on the Podcatchers and the required action, we have made the Podcatcher LED Status sheet. Combining that and the Podcatcher LED Error sheet you can determine whether or not a Podcatcher (in an error state) needs to be sent for repairs.
Although we always replace our Podcatchers (which are in an error state or need to be repaired) free of charge, we would like to prevent you from unnecessarily spending money on shipping costs.
To make optimal use of our system and prevent your Podcatchers from going into an error state it’s important to:
Place a Podcatcher back into the Dockingstation when returned after use, so it can charge again
Firmly push the Podcatcher into a slot when placing it back into the Dockingstation
Place all Podcatchers back into the Dockingstations at the end of the day, so they can charge and sync overnight
Always sync replacement Podcatchers (whether for missing or repaired players), because they do not hold the content yet
You can try syncing a Podcatcher with an error in a different slot to make sure the problem doesn’t lie in the Dockingstation slot
Make sure the Sync Console is up, running and connected to a wired internet connection 24/7
If the Podcatcher has been physically damaged, has a distorted sound or makes a rattling sound when shaken, it needs to be replaced. Hardware defects can’t be solved by syncing the player.
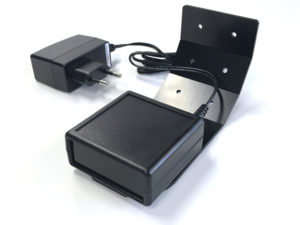
The Podcatcher is an interactive audio handset. It can be used for all types of interpretation and interaction, anything from a simple audio guide, to a remote control for an interactive exhibition or game. The specsheet can be found here: Specsheet-Podcatcher-2020
If you would like to add (or record) instructions for your visitors, on how to use the Podcatcher, you can use the text below;
ENG
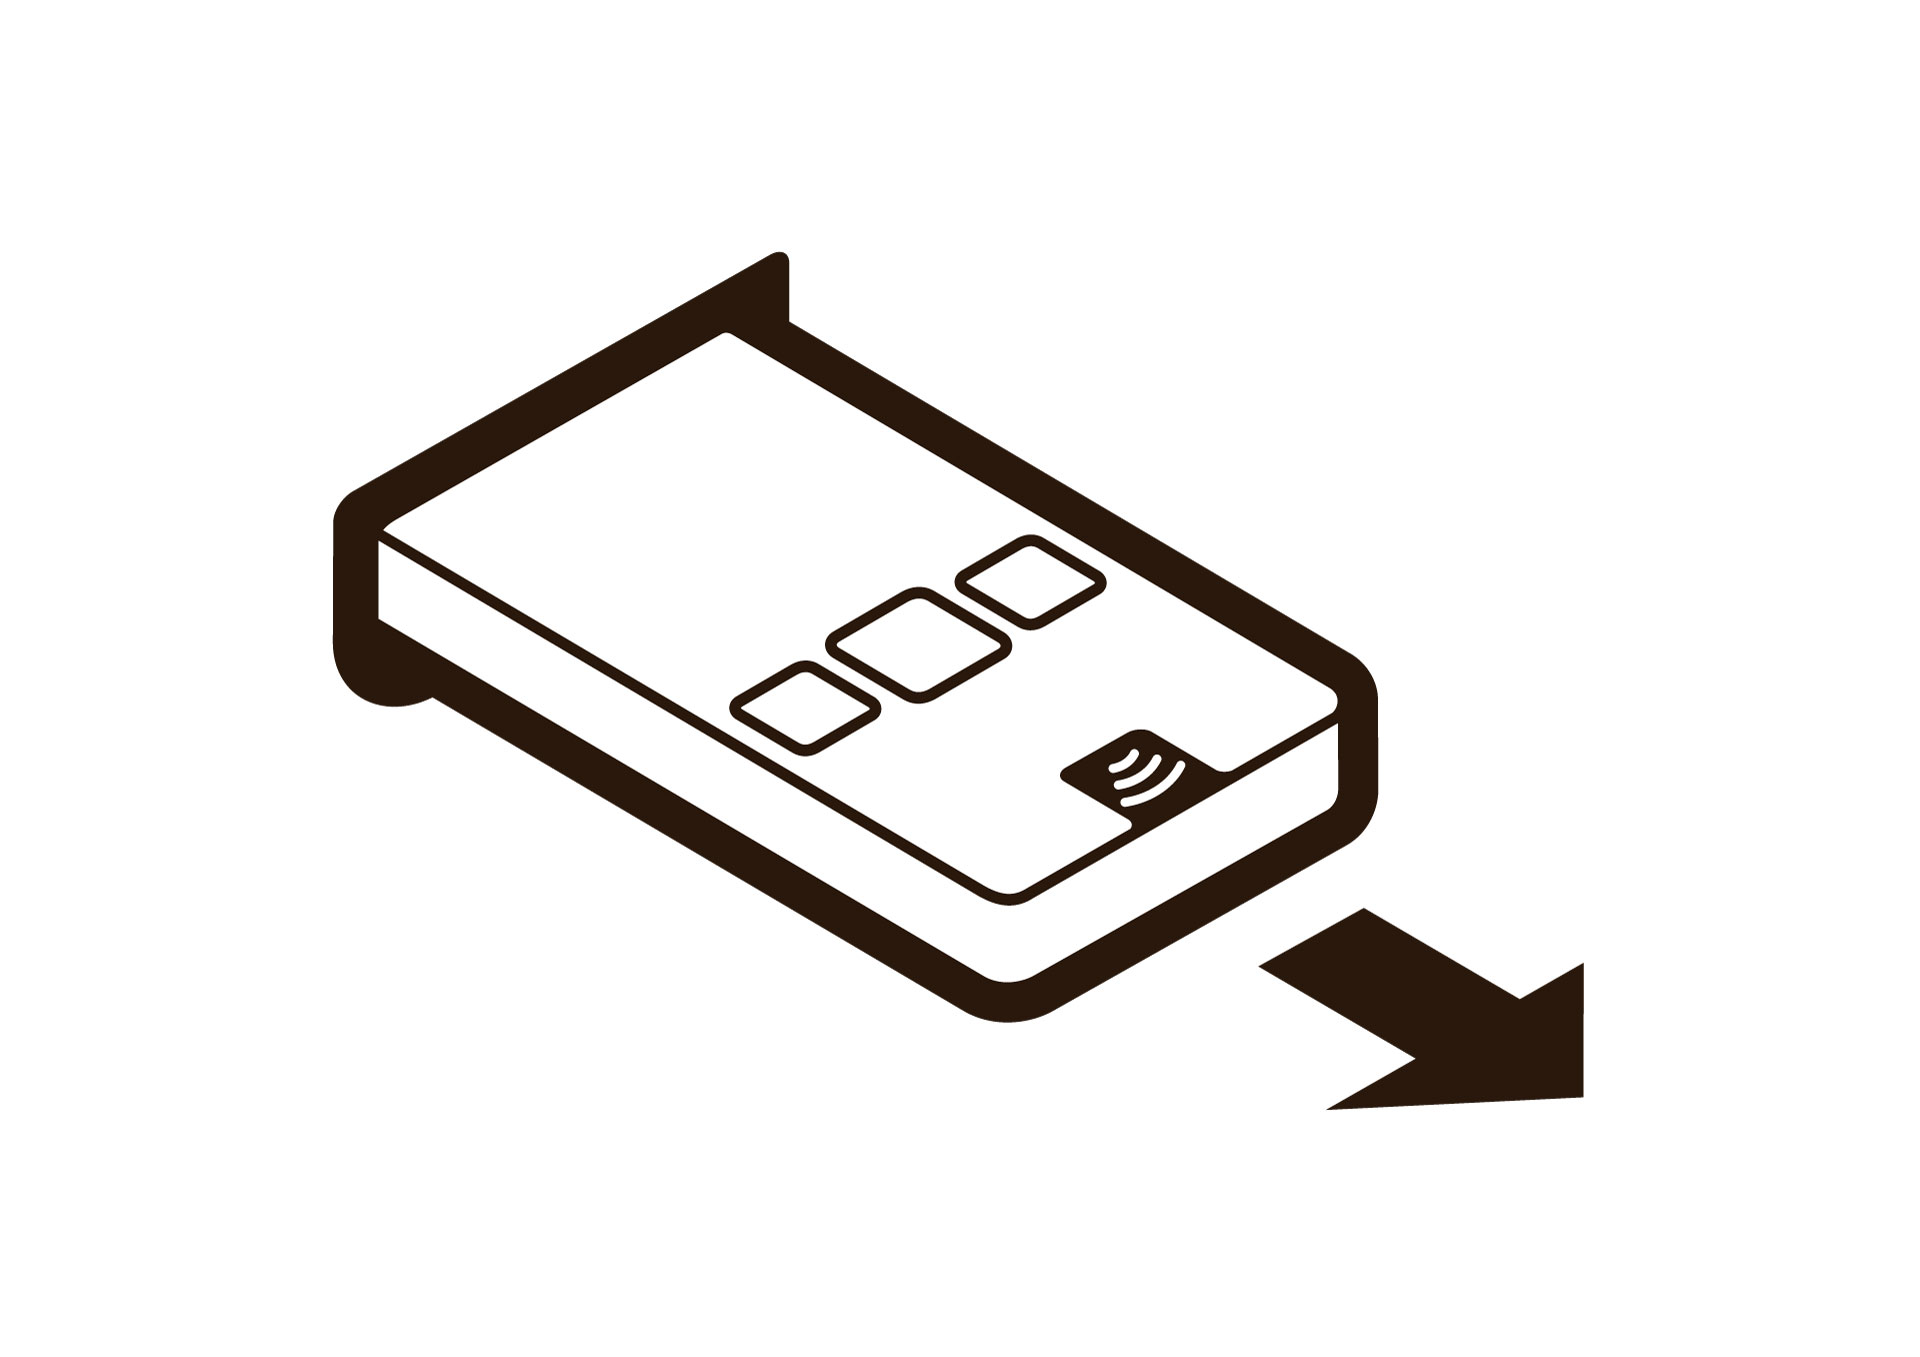
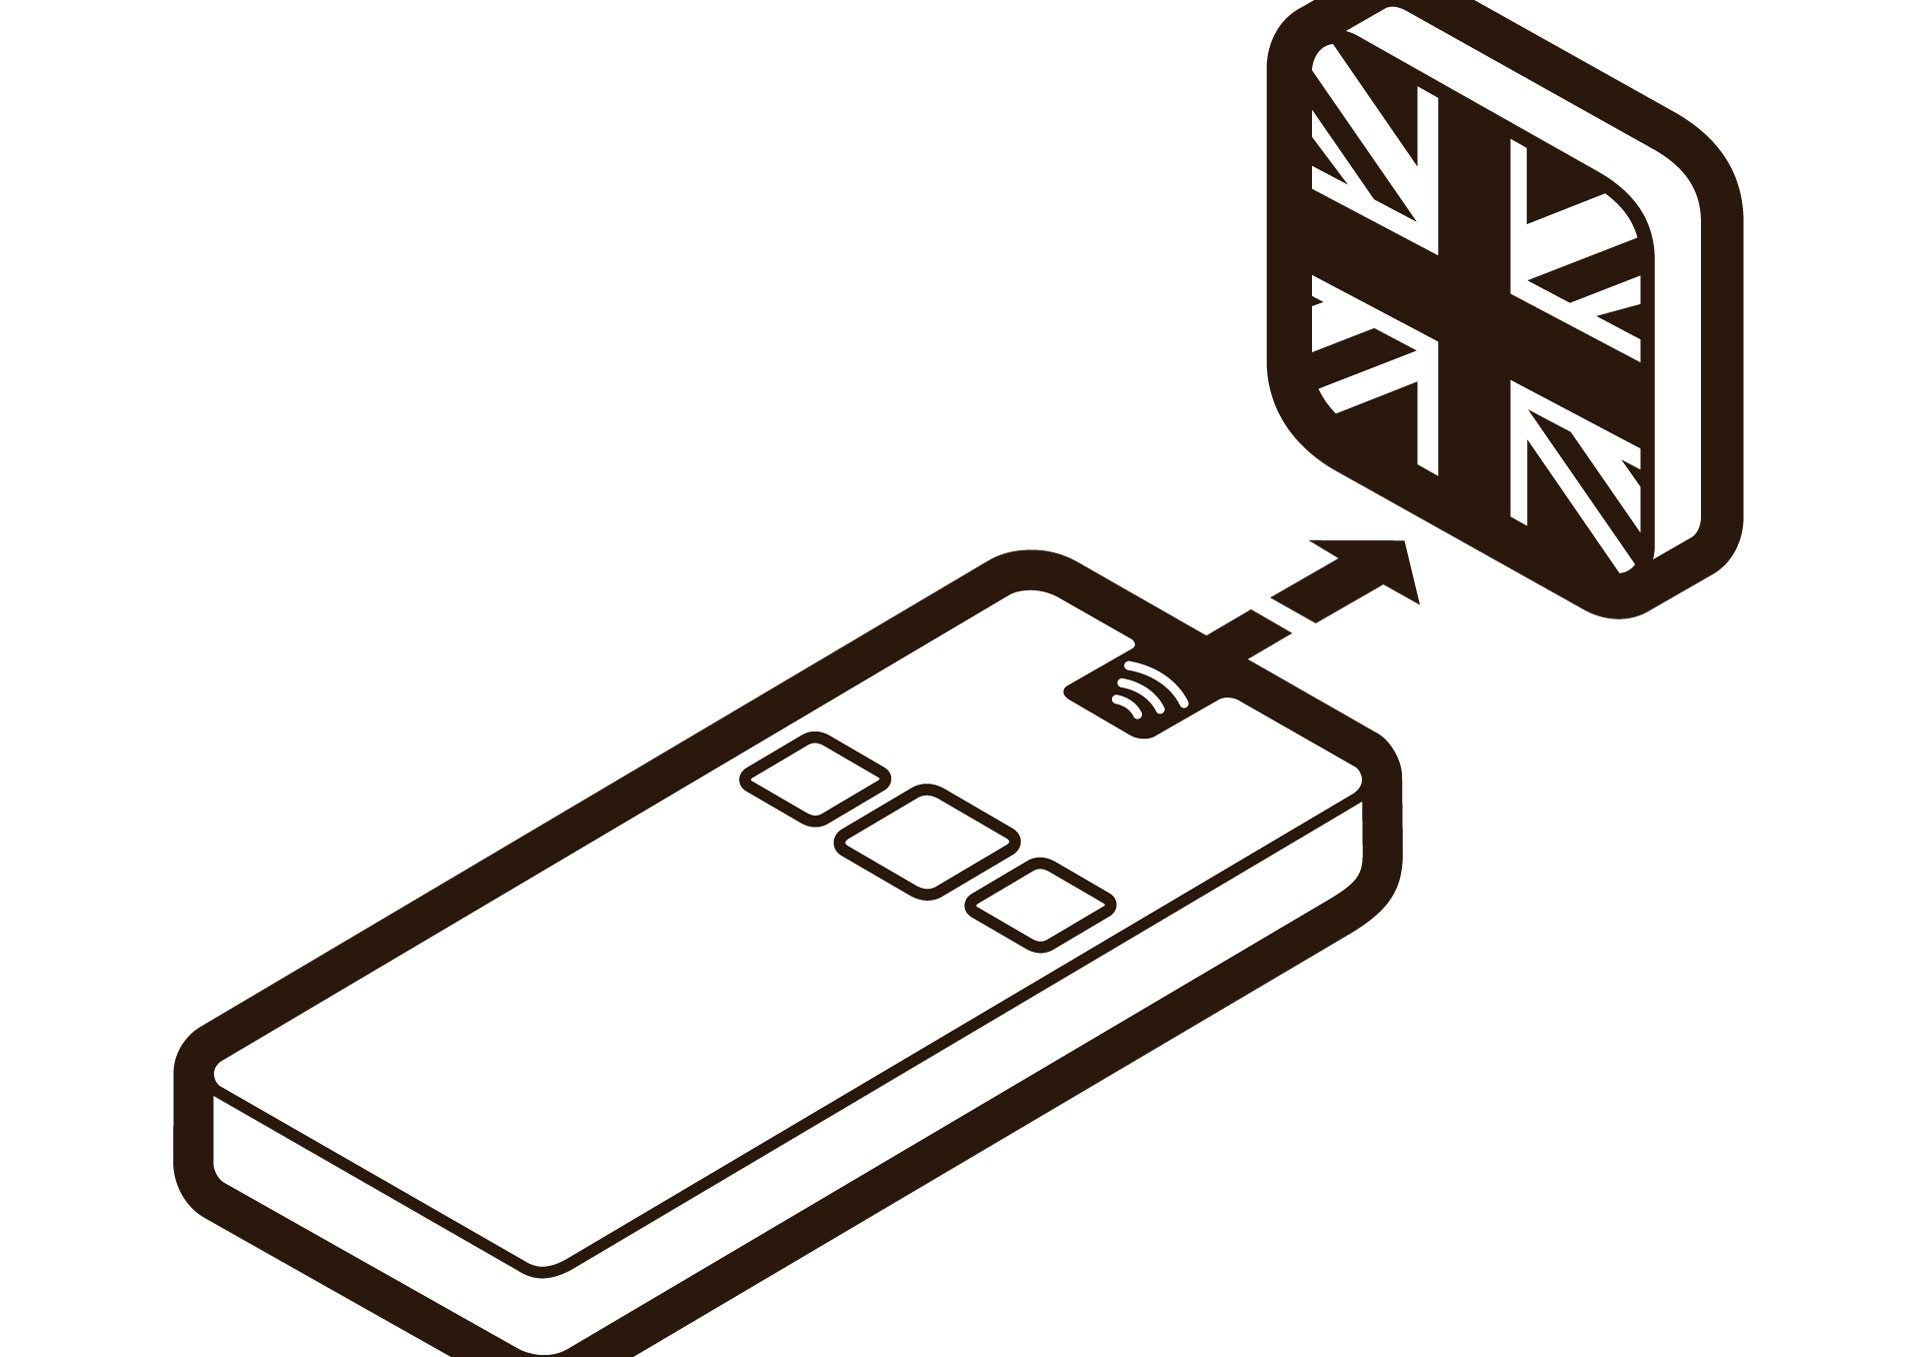
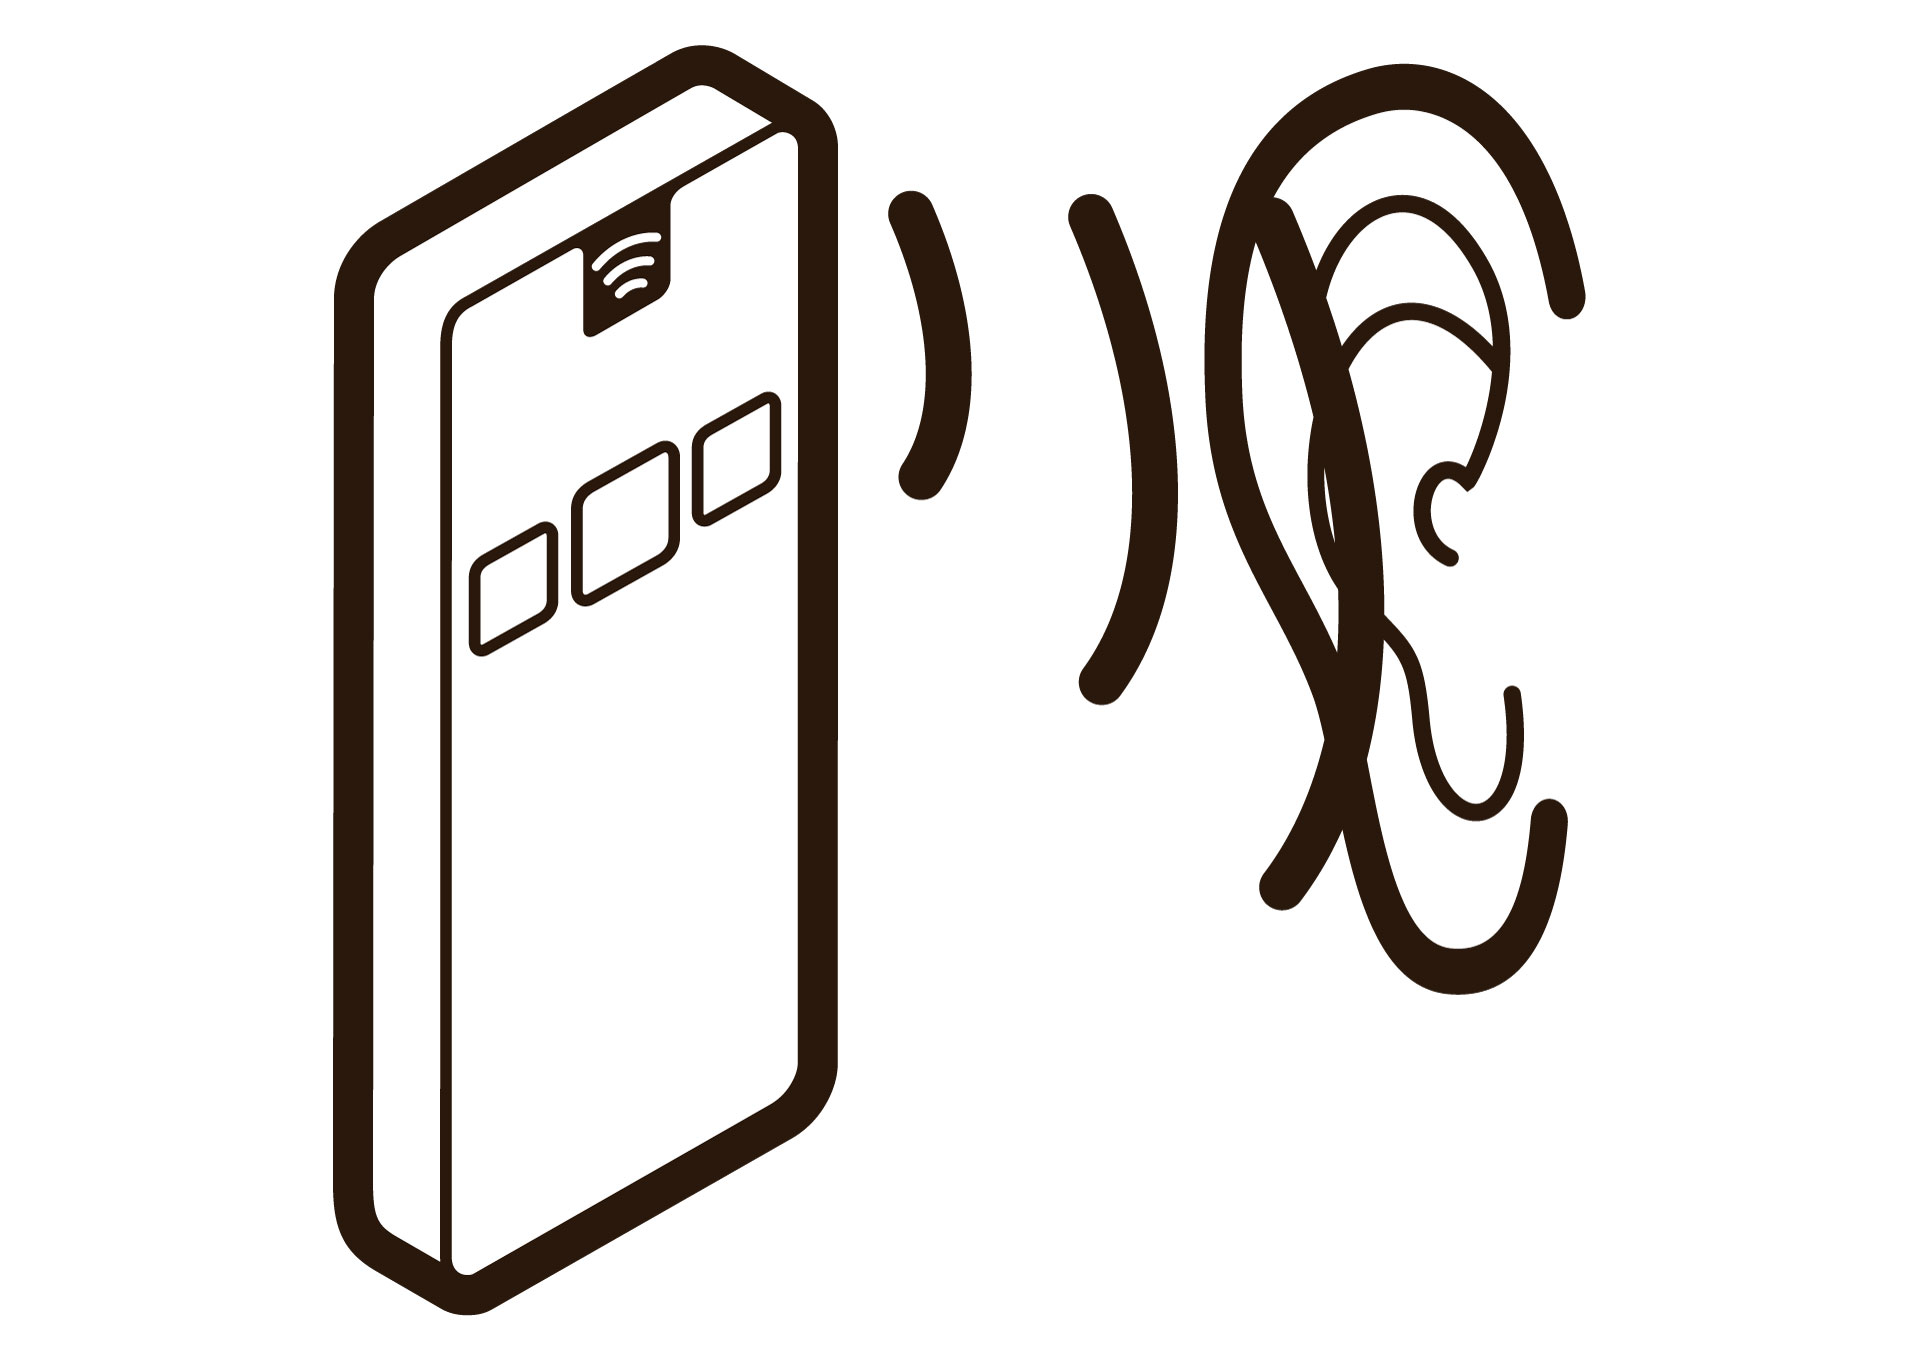
“You start the commentary by pointing the player at an activation point, holding it no more than thirty centimeters (or one foot) away like a remote control. You don’t have to press any buttons; the commentary will start automatically after the beep.
The device has three buttons. Use the button on the left to turn the volume down and the button on the right to turn the volume up. Use the middle button to pause the commentary and then restart it.
If you are asked to select a fragment, the buttons function as options up, down, left, right.”
NL
“U start een verhaal door de speler binnen 30 cm op een activeerpunt te richten, net als een afstandsbediening. U hoeft daarbij geen toets in te drukken, het commentaar start vanzelf na de beep/pieptoon.
Er zitten drie toetsen op het apparaat. Met de linker toets zet u het volume zachter, met de rechter toets zet u het volume harder. De middelste toets gebruikt u om informatie te pauzeren en vervolgens weer te hervatten.
Tijdens een keuzefragment functioneren de toetsen als pijltjes keuzetoetsen”.
We also have icons available which you can use on your signage or language activation point.
These icons are the first steps on how to activate the Podcatcher. You can download the 4 icons here;