When a Dockingstation is greyed out in the portal overview, it means it has not been synced. You can find which Dockingstation it is by checking the serial number. Each Dockingstation has its own unique serial number and can be found on the top of the Dockingstation (and on the bottom plate).
Please check the following:
- Is (are) the USB cable(s) and adaptor(s) of the Dockingstation(s) connected?
- Is (are) the USB Hub(s) connected to the Syncconsole (PC) and are all USB ports working?
After these checks, please reboot the PC and restart the synchronization.
If the Sync console is offline, the PC cannot connect to our server. Please check the following:
- The PC has an active internet connection
- The Dockingstations are connected to the PC and power
If that seems to be in order, you can try restarting the pc. If the PC has an internet connection but still cannot connect to our server, please check if there is a firewall active – your IT should be able to help you here. The Podcatcher Sync program needs to be able to connect to apps.podcatcher.eu on port 80.
The sync pc is completely installed with all the necessary software. You should take the following steps:
- Connect the Dockingstations to the PC using the USB cables. Or, when using multiple Dockingstations, plug them into the USB Hub using the USB Cables and then connect the USB Hub to the Pc.
- Connect the Dockingstations and PC to the power socket.
- Insert the Podcatchers into the Dockingstations.
- Connect the PC to a wired internet connection and turn on the PC (Note: the whole set up needs to stay connected to power and internet 24/7).
- Check if all the lights on the Dockingstations are green and the lights on the USB Hub are lit blue.
- When ready, log on to the Podcatcher Portal > go to Sync > press “Sync Now”.
- The content will be synced on to the Podcatchers.
- As soon as the Podcatchers’ green LED lights up, they are ready and the content can be tested.
You can use a jpg of png file. If you use the Podcatcher App, we recommend an image of 1080 x 1920 pixels (portrait) or larger.
If you only use MapMyVisit, any square image larger than 300 x 300 pixels will do.
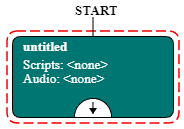
In order to make an audio repeat itself continuously in a certain clip you have to go to that clip> drag a line from the arrow at the bottom of the clip back to itself > choose auto continue.
Go to your tour at stop level > click on the stop > choose the tab general (in the top of the page) > check the right square box A/V sync > save. Go back to the stop and click edit trigger > add > show more and choose AV sync IDentifier > fill in the code for the normal mode or the flexible mode.
For the complete info about the AV sync go to https://help.guideid.com/kb/av-sync
Would you like to upload audio to your new Tour? replace an audiofile in a Stop? or add new audiofiles in a new language? No problem, in the Toureditor you can. Adding your audio can be done in 2 ways; Upload audiofiles from your files or use our Text-to-Speech option. Haven’t you made a tour yet? click here.
How?
- Log on to your account and open the Toureditor
- Open the Tour
- Click on the Stop you would like to edit
- Open de Clipeditor
- Select the right language in the top and choose “Upload audio” or enter the text in the Script field and press “Generate from script”
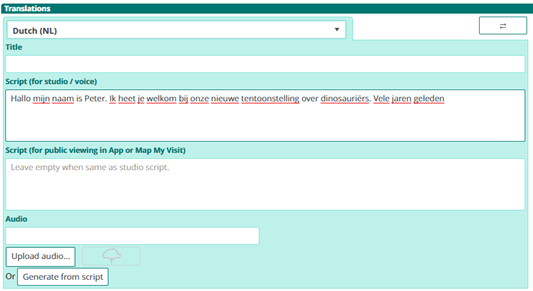
Note; If the language cannot be selected, you have to add the language to your Tour first
- When the audiofile has finished uploading, move on to the next Stop in the list and so on.
- When you have finished uploading all the new files, go back to the Tour and click on Publish (or) Unpublished changes on the right side of the screen
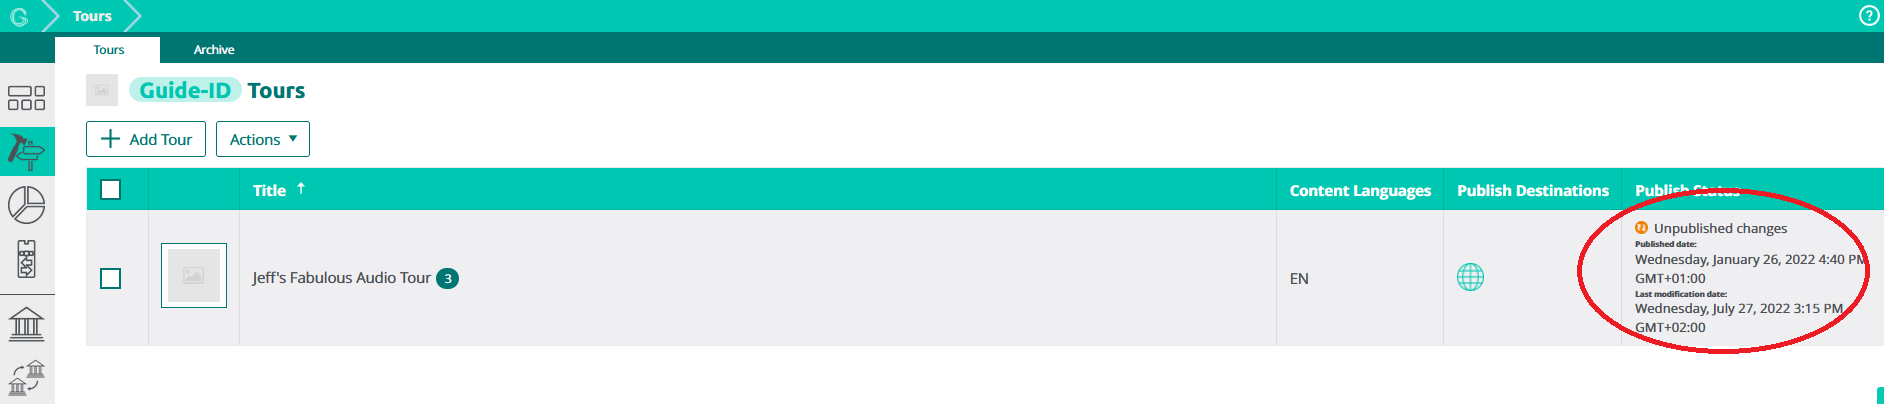
- Choose Publish Tour.
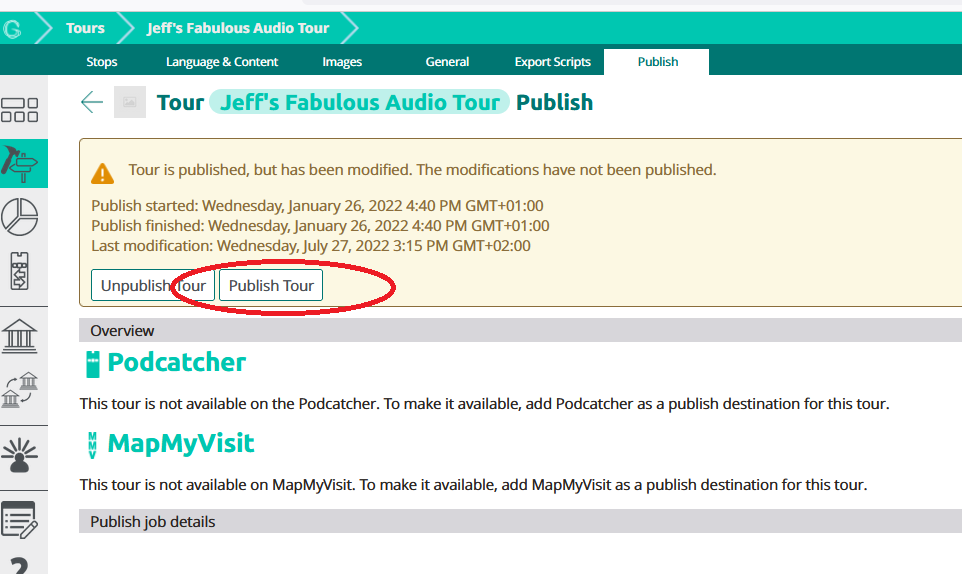
When done publishing, the new files are ready to be transferred onto the Podcatchers! You can start a synchronisation directly if you go to the Sync and click Sync now (make sure the Podcatchers are not available for visitors at that moment). Or you can wait for the automatic sync to start after opening hours
Yes, you can enter several IDentifier numbers for one language as a start IDentifier.
With the auto start you can activate one specific language for all Podcatchers when taken out of a dockingstation. Go to your “activate Podcatcher” stop or the stop which you would like to use as the start point of your tour in your list > click edit trigger > add > show more > choose automatic start and select the language (you do not need to fill in a identifier number as this is an automatic one)
Note; you can only choose one automatic start IDentifier per tour.
Object IDentifier:
Go to your stop list in the tour > click edit trigger > add > choose an object IDentifier and add the number which is on the back of the IDentifier > Place this IDentifier at the object in the museum
Start IDentifier:
Go to your “activate Podcatcher” stop or the stop which you would like to use as the start point of your tour in your list > click edit trigger > add > choose a start IDentifier (this will start the tour including the language of your choice). Enter the IDentifier number which is located on the back of the start/language identifier and chose your language.