Introduction
To synchronize content and usage data of the Podcatchers, a PC needs to be setup as a Sync Console near/at the handout desk which is connected to the Dockingstations and Internet. We will provide this PC to you, but if you need an extra Sync Console installed (for instance in the office or at a partner) or if you have to re-install your own PC, you can set up an a regular PC following the steps below. Note: any computer used as a Sync Console must meet these specifications.
Installation
Before a computer can sync Podcatchers, it will need some software so it ‘knows’ how to work with the Guide ID servers and devices. There’s TeamViewer (1) that lets you (and us) connect to the computer remotely (should it be necessary) and the Sync desktop application (2). Afterwards, you’ll need to associate the desktop app’s serial number with your Site (3) so the computer can synchronize your content.
Attention: if you have not yet received the Docking Stations, you can start the installation steps but you will not be able to complete step 3 because the activation code is not shown and/or the Sync program will say that the Sync service is not running. This is due to a limitation of the Windows driver model. Once you have connected the Docking station(s) and reboot the computer, the activation code will be displayed.
1. Guide-ID TeamViewer
In order for us to be able to help you remotely, you have the option of installing the TeamViewer Host program. Guide-ID can use this program to help you, if there are any problems during the installation of the synchronisation program or at any other point down the line. Installing this program is optional, but we recommend it.
Note; We always recommend to connect the Sycconsole onto your ‘guest network’ so your internal network is protected at all times. Your system administrator will be able to do this for you as it’s their responsibility.
- Download the program ‘TeamViewer_Host_Setup.exe‘.
- Find the file in your downloads folder, right-click on it and choose Run as Administrator. Contact your computer/network administrator to obtain these rights if you don’t have them.
- On the first screen click ‘Next’ .
- You will be asked how you would like to use the program, choose business/commercial and click ‘Next’.
- The license agreement will be shown, accept the agreement and click ‘Next’.
- You will be asked to choose a password, use the word Podcatcher and fill in a computer name, for example the name of your organization. If you have multiple Sync Consoles, we recommend naming them something descriptive like “Front desk” or “Podcatcher hand-out temporary tour” along with the name. You don’t have to tick the box for ‘add this computer to my list of computers’. Click ‘Next’.
- Click ‘Finish’ to complete the installation.
- After installation a screen with Your ID will be shown. Send an email to helpdesk@guideid.com with this number and a description of your computer (where it’s located for example).
2. Installation of the Podcatcher Sync application (Sync Console 2.x)
The Sync Console 2.x application is a Windows service that allows Podcatcher V3 hardware to sync with the PP4 Platform. It replaces the legacy Podcatcher Sync service.
The new service can be installed on Windows 10 or 11. If the legacy Podcatcher Sync is already installed, it will be automatically replaced.
- Download the msi installer from GuideID.SyncSetup and run it. Depending on your security configuration, a message similar to this may appear:
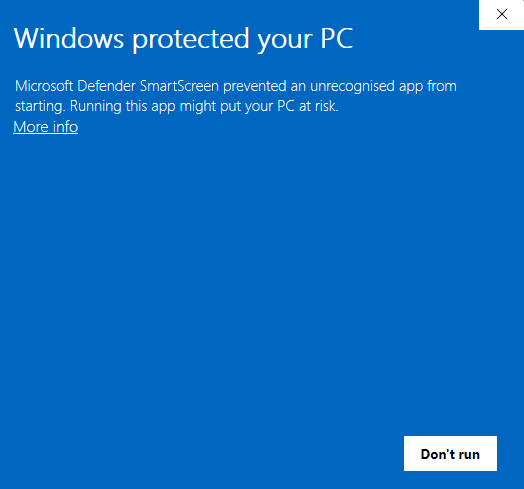
- If the “Run anyway” button is already visible, click it. Else you need to click “More info” first and then click “Run anyway”. You will be greeted by the following screen:
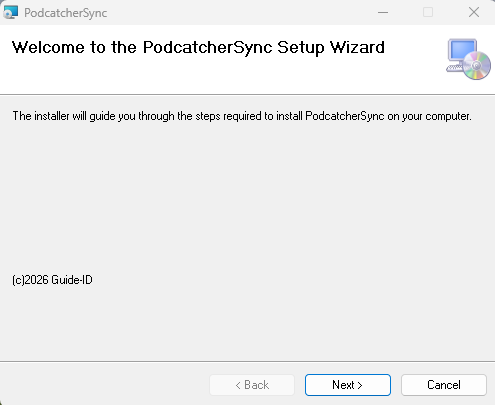
Click “Next” to continue. - Select where to install the application. It is recommended to accept the default location. (Note: the contents of all Podcatcher audio tours will be stored here as well, so make sure there is enough space available.)
Make sure to select “Everyone” and click “Next”: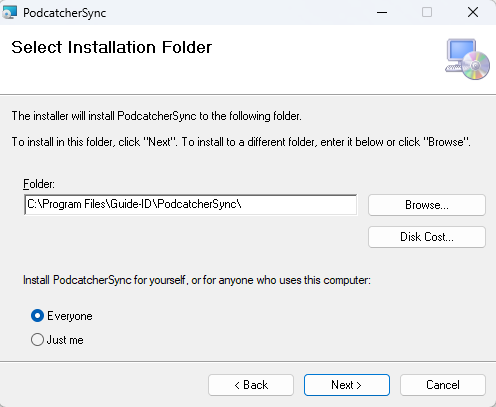
- Click “Next”:
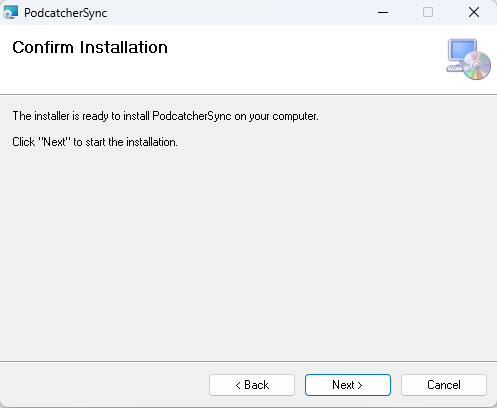
Click “Next”: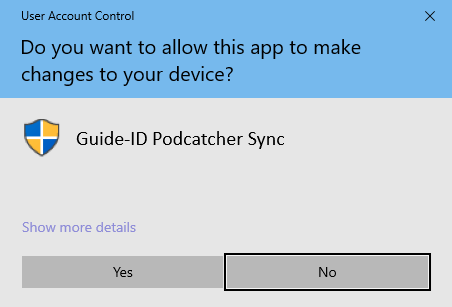
- A warning similar to the one above may appear asking permission to make changes to your device. Click “Yes” or “Allow” or something equivalent to continue installation.
After the application has been installed, click Close.
Identifying the Serial Number and Authentication Key
If the Sync Console still needs to be registered in the Podcatcher Platform, you need to provide a serial number and authentication key.
This information can be retrieved by running the following command from an elevated command prompt (run cmd as administrator):
GuideID.PodcatcherV3Sync.exe -cmd info
The following information appears.
Guide-ID Podcatcher Sync Service version: 2.1.0.0 Sync Console Serial number: scXXXXXXXXXX Authentication key: XXXXX-XXXXX-XXXXX-XXXXX-XXXXX
Take note of the Sync Console Serial number and the Authentication key and enter them in the Platform when registering your Sync Console.
3. Register your Sync Console
- Go to the Podcatcher Platform and log in using your Podcatcher Platform account.
- Click ‘Hardware → Sync‘ on the left-hand side of the page.
- Click the [ + Add new Sync Device ] button to register a Sync Console and to link it to your site.
- A popup window should appear with the following input fields:
- First, select the Sync Console option and click Next.
- Sync Console Serial Number and Authentication Key, this is where you fill in the serial number and authentication key that you copied/wrote down from the previous step.
- Sync Console Daily sync time, this is where you select a time when all Podcatchers should be present in the Sync Console, usually after opening hours.
- Sync Console Description, this is where you fill in a name for the Sync Console, for example, ‘Distribution point main desk’.
- Add the Sync Console by clicking [ Finish ] button. The list of Sync Consoles should update and the new one appears.
If you have multiple locations where Podcatchers need to be provided with content, you can redo the steps mentioned here above at any location with any computer that complies to the Sync Console specifications. Every installation will have its own unique activation code that you can use to activate the location and to be able to see it in the online Sync App.
Should you run into problems installing the Podcatcher Sync application, try the Sync Console installation troubleshooting page.