Introduction
To synchronize content and usage data of the Podcatchers, a PC needs to be setup as a Sync Console near/at the handout desk which is connected to the Dockingstations and Internet. We will provide this PC to you, but if you need an extra Sync Console installed (for instance in the office or at a partner) or if you have to re-install your own PC, you can set up an a regular PC following the steps below. Note: any computer used as a Sync Console must meet les présentes spécifications.
Installation
Before a computer can sync Podcatchers, it will need some software so it ‘knows’ how to work with the Guide ID servers and devices. There’s TeamViewer (1) that lets you (and us) connect to the computer remotely (should it be necessary) and the Sync desktop application (2). Afterwards, you’ll need to associate the desktop app’s serial number with your Site (3) so the computer can synchronize your content.
Attention: if you have not yet received the Docking Stations, you can start the installation steps but you will not be able to complete step 3 because the activation code is not shown and/or the Sync program will say that the Sync service is not running. This is due to a limitation of the Windows driver model. Once you have connected the Docking station(s) and reboot the computer, the activation code will be displayed.
1. Guide-ID TeamViewer
Pour que nous puissions vous aider à distance, vous avez la possibilité d'installer le programme TeamViewer Host. Guide-ID peut utiliser ce programme pour vous aider en cas de problème lors de l'installation du programme de synchronisation ou à tout autre moment. L'installation de ce programme est facultative, mais nous la recommandons.
Note : Nous recommandons toujours de connecter la Sycconsole à votre "réseau invité" afin que votre réseau interne soit protégé à tout moment. Votre administrateur système pourra le faire pour vous, car c'est sa responsabilité.
- Télécharger le programme 'TeamViewer_Host_Setup.exe‘.
- Trouvez le fichier dans votre dossier de téléchargements, cliquez dessus avec le bouton droit de la souris et choisissez Exécuter en tant qu'administrateur. Contactez l'administrateur de votre ordinateur/réseau pour obtenir ces droits si vous ne les avez pas.
- Sur le premier écran, cliquez sur 'Suivant' .
- Il vous sera demandé comment vous souhaitez utiliser le programme, choisissez affaires/commerciales et cliquez sur "Suivant".
- L'accord de licence s'affiche, accepter l'accord et cliquez sur "Suivant".
- Il vous sera demandé de choisir un mot de passe, utilisez le mot Podcatcher et indiquez le nom de l'ordinateur, par exemple l'ordinateur nom de votre organisation. If you have multiple Sync Consoles, we recommend naming them something descriptive like “Front desk” or “Podcatcher hand-out temporary tour” along with the name. You don’t have to tick the box for ‘add this computer to my list of computers’. Click ‘Next’.
- Cliquez sur Finir pour terminer l'installation.
- Après l'installation, un écran avec Votre identifiant sera affichée. Envoyer un courriel à helpdesk@guideid.com avec ce numéro et une description de votre ordinateur (où il se trouve par exemple).
2. Installation of the Podcatcher Sync application (Sync Console 2.x)
The Sync Console 2.x application is a Windows service that allows Podcatcher V3 hardware to sync with the PP4 Platform. It replaces the legacy Podcatcher Sync service.
The new service can be installed on Windows 10 or 11. If the legacy Podcatcher Sync is already installed, it will be automatically replaced.
- Télécharger the msi installer from GuideID.SyncSetup et run it. Depending on your security configuration, a message similar to this may appear:
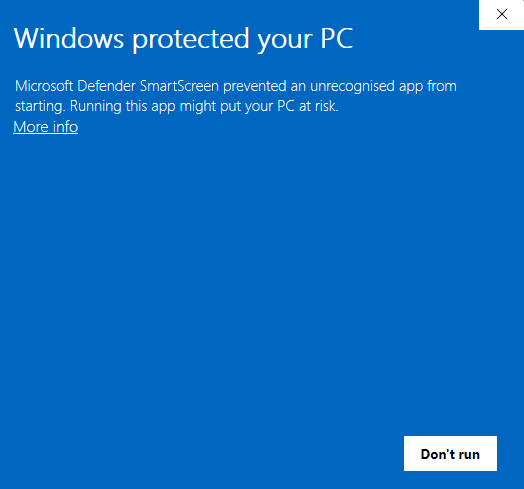
- If the “Run anyway” button is already visible, click it. Else you need to click “More info” first and then click “Run anyway”. You will be greeted by the following screen:
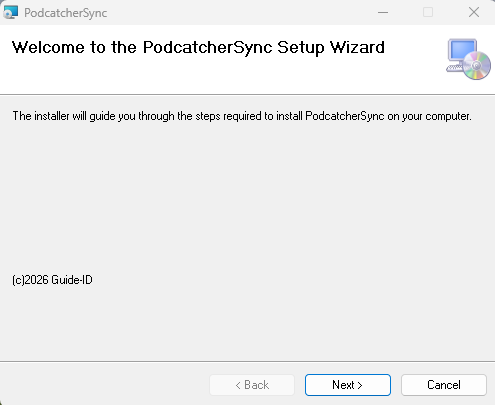
Click “Suivant” to continue. - Select where to install the application. It is recommended to accept the default location. (Remarque : the contents of all Podcatcher audio tours will be stored here as well, so make sure there is enough space available.)
Make sure to select “Everyone” and click “Next”: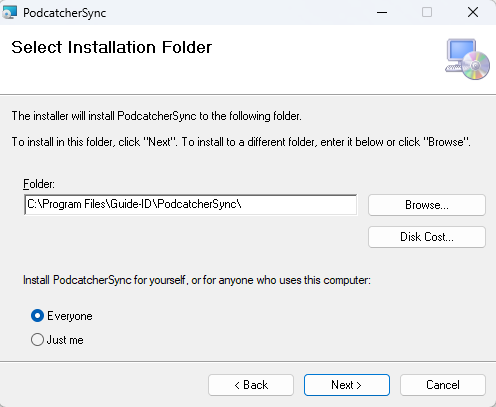
- Cliquez sur “Next”:
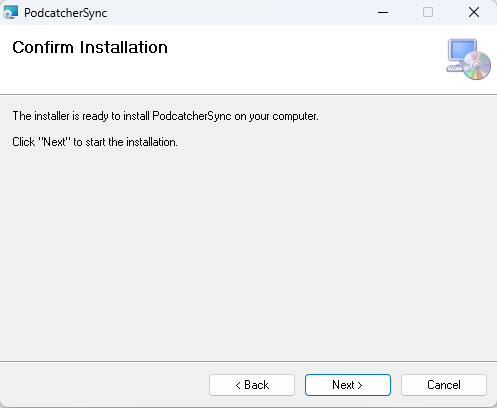
Cliquez sur “Next”: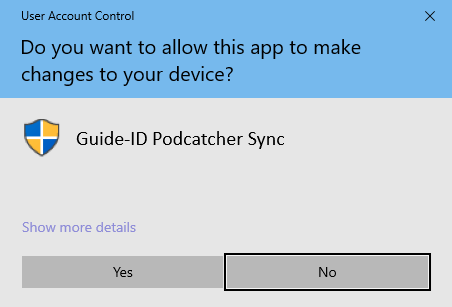
- A warning similar to the one above may appear asking permission to make changes to your device. Click “Yes” ou “Allow” or something equivalent to continue installation.
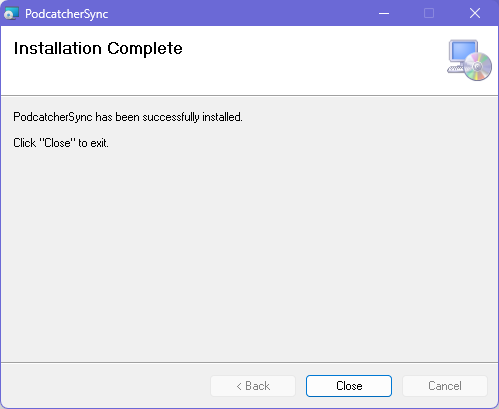
After the application has been installed, click Close.
Identifying the Serial Number and Authentication Key
If the Sync Console still needs to be registered in the Podcatcher Platform, you need to provide a serial number and authentication key.
This information can be retrieved by running the following command from an elevated command prompt (run cmd as administrator):
GuideID.PodcatcherV3Sync.exe -cmd info
The following information appears.
Guide-ID Podcatcher Sync Service version: 2.1.0.0 Sync Console Serial number: scXXXXXXXXXX Authentication key: XXXXX-XXXXX-XXXXX-XXXXX-XXXXX
Take note of the Sync Console Serial number and the Authentication key and enter them in the Platform when registering your Sync Console.
3. Register your Sync Console
- Aller à la page Plate-forme Podcatcher et se connecter using your Podcatcher Platform account.
- Cliquez sur ‘Hardware → Synchronisationsur le côté gauche de la page.
- Cliquez sur le bouton [ + Add new Sync Device ] button to register a Sync Console and to link it to your site.
- Une fenêtre contextuelle doit apparaître avec les champs de saisie suivants :
- Tout d'abord, sélectionnez le Synchronisation Console et cliquez sur Suivant.
- Console de synchronisation Serial Number et Clé d'authentification, this is where you fill in the serial number and authentication key that you copied/wrote down from the previous step.
- Console de synchronisation Daily sync time, this is where you select a time when all Podcatchers should be present in the Sync Console, usually after opening hours.
- Console de synchronisation DescriptionC'est ici que vous indiquez un nom pour la console de synchronisation, par exemple, "Distribution point main desk".
- Add the Sync Console by clicking [Finir ] button. The list of Sync Consoles should update and the new one appears.
Si vous avez plusieurs lieux où les Podcatchers doivent être approvisionnés en contenu, vous pouvez refaire les étapes mentionnées ci-dessus à n'importe quel endroit avec n'importe quel ordinateur conforme aux spécifications de la console Sync. Chaque installation aura son propre code d'activation unique que vous pouvez utiliser pour activer le lieu et pour pouvoir le voir dans l'application Sync en ligne.
Si vous rencontrez des problèmes lors de l'installation de l'application Podcatcher Sync, essayez l'option Dépannage de l'installation de la console Sync page.