To access the tour settings, go to the tour page and click on Tour Settings located in the top-right corner of the page. This will open up the Tour Settings pop-up.
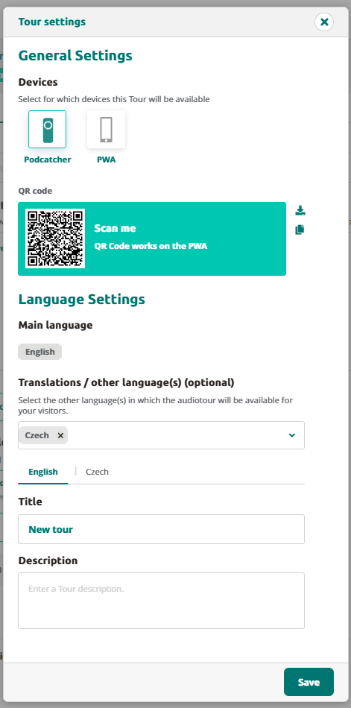
The Tour Settings pop-up displays general information about the tour. To apply any changes, make the necessary edits and then click the Savebutton.
In the General Settings section, you can select which devices this tour will be available on.
In the Language Settings section below, you can select which languages the tour will be available in. Please note that it is not possible to change the main language of the tour once it has been set.
You can also customize the translated title and description of the tour for each available language.
By adjusting these settings, you can ensure that your tour is optimized for your target audience, making it more accessible and appealing to a wider range of users.
Adding layers can serve a variety of functions, for example when your main audio fragment for a stop becomes lengthy, you can provide more detailed information by adding a layer. For instance, you can present historical background or details about an art piece as a separate layer. This way, visitors who are not as interested in the history can still enjoy the primary story of the art.
Adding layers
To add a layer to your tour, follow these steps:
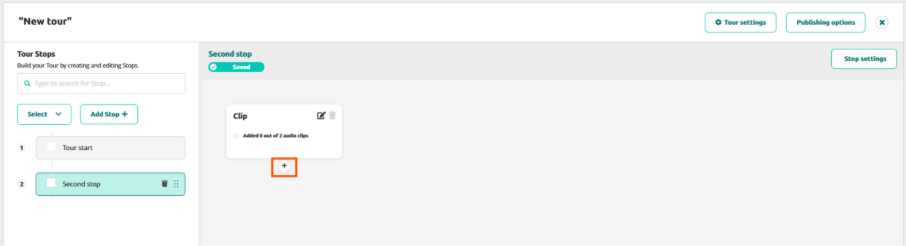
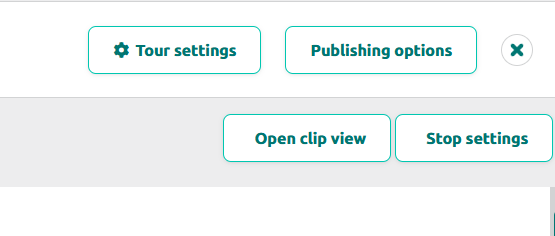
Click on a stop within the tour.
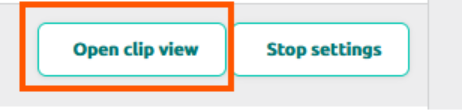
Click on “Open clip view”
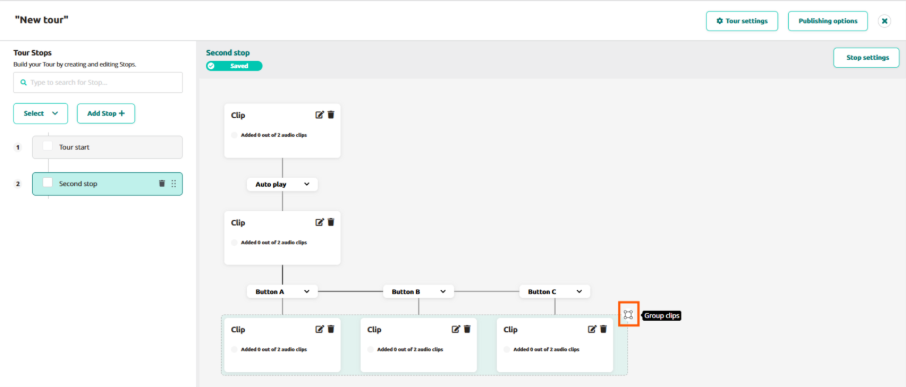
Hover your mouse cursor over the clip, and a small “+” icon will appear.
Click the “+” icon, and a new clip will appear with a line connecting it to the previous clip, labeled as “Auto play.”Users can choose any of the four options: A, B, C, or Auto Play
At this point, the layer has been added, and the purpose of adding the layer becomes relevant.
If you want to include an optional segment of audio, click the “Auto Play” dropdown button and select any of the available A/B/C buttons. It’s essential to provide an explanation in the first clip to guide visitors. For example, you can include text such as “Press A to learn more about the painter’s life.”
Multiple clips require more than one option or button. Simply click on the “+” icon . After selecting Button A, the lines connecting the clips will automatically change from “B” to “C” when clicking on “+” icon.
You can click the group icon to group the clips together and ungroup them. Grouped clips share the outgoing connection, ensuring that the following clip remains the same regardless of the chosen option.
For additional layers, click the “+” button below a clip or group and repeat the process. Note that if you want to chain a clip group to another group, you need to include an “in-between” clip. This step is crucial to ensure proper advancement through the tour, otherwise the Podcatcher wouldn’t know which of the following clips it needs to play to advance..
By incorporating layers into your tour, you can create a more engaging and interactive experience for visitors. These layers add depth, personalization, and an element of fun to your tours.
Transform Your Exhibition Ideas into Complete Audio Experiences
The AI Tour Generation feature in the Guide-ID platform allows you to rapidly create engaging audio tours with minimal effort. This powerful tool takes your basic exhibition information and transforms it into professional, ready-to-use audio stops with consistent narration and optional translations.
Prerequisites
Before starting, ensure you have:
Active Guide-ID platform account with administrator privileges
Basic exhibition information (titles, themes, key artifacts)
Clear understanding of your target audience and tour objectives
Approximately 5-10 minutes of time for initial setup (generation occurs in the background)
Step-by-Step Instructions
1. Initiate Tour Creation
Log in to the Guide-ID platform
Navigate to Tours > Create New Tour
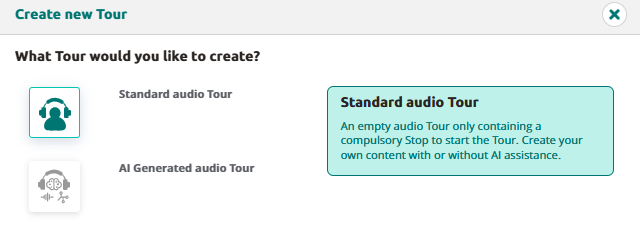
In the tour creation wizard, select AI-Generated Tour option
Enter a descriptive title for your tour, it will be used as subject of the audio tour
Select the number of stops (2-10)
The Stop titles are immediately suggested. Change them to have a different theme/focus per stop
Click “Create tour”
Tip: Choose titles that helps the AI understand what the focus of the tour should be
2. Review the created tour
Stand by AI is pondering, it normally takes between 1-5 minutes to create the tour. when it is done the following is created
A transcript per language
With the help of randomly selected voices the audio is generated
For each individual stop, review
Script: read the script and/or listen to the generated audio. Finetune the fragments where needed
Voices: the voices are selected randomly,
you can use “Ask AI” to change the tone of voice or create new translations.
Next Steps
After creating your AI-generated tour, publish and sync it.
Publishing a tour means making the latest version of your tour available to visitors.
Any change made so far is only visible in the tour builder, but not yet on the Podcatcher or other devices.
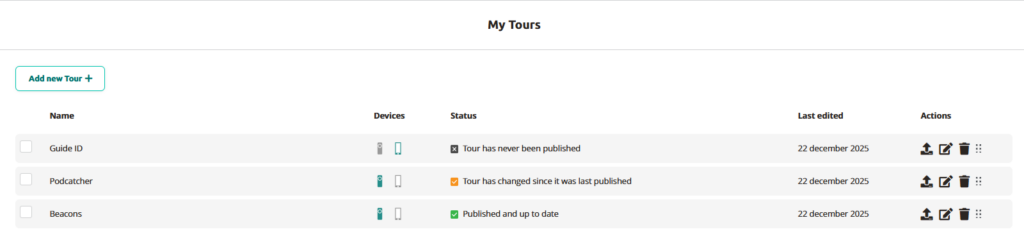
There are three publishing “states” a tour can be in:
Unpublished: Tour is not available to visitors and has never been published
Published: Tour is available to the public and up to date
Published: with changes: The tour has been edited since it was last published.
Once you’re happy with your tour, go publish it. Go to the tour and select the Publishing Options button at the top-right of the stop list of that tour.
Clicking the button will bring up a dialog where any missing content is listed, as well as allowing you to see what has changed since the last time you published.
The changes made to the tour since it was last changed, can be viewed in a similar fashion.
Status
In the My Tours list you can easily see the status of each tour.
For the Podcatcher the synchronisation is still needed for each Podcatchers to have the latest content & changes. This is often scheduled in the evening.
To publish the tour in My tours, simply click on the icon with the arrow facing up.
The AI functionality in the Platform allows you to generate content quickly and effectively using predefined prompts.
This tool utilizes advanced algorithms to enhance or modify your script based on specific needs, such as simplifying text, adjusting the tone, or translating it into another language
Step-by-step Guide for Using AI Content Generation:
Open a Stop: Begin by selecting a stop within an existing or new tour for which you want to generate or modify content.
Fill in the Script Field: Enter the text you want to use or modify in the script field. This can be a short snippet or a longer piece of text.
Click ‘Ask AI’: After entering your text, click the ‘Ask AI’ button to activate the AI functionality.
Choose a Predefined Prompt: A dropdown menu with various predefined prompts will appear. These prompts range from making the text child-friendly, shortening it, simplifying it, adjusting the tone, to translating the script.
Select a Prompt: Choose a prompt that aligns with the purpose of your modification. The chosen prompt determines how the AI will edit your text.
View the AI Output: Once you’ve selected a prompt, the AI generates a new version of your text in real-time, which automatically appears on the screen.
Review and Decide: Wait for the AI to finish generating the text. Then, review the generated content and decide whether to keep it or not.
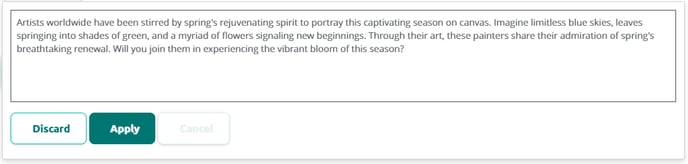
Use ‘Discard’ or ‘Apply’: If you decide not to use the AI-generated text, click ‘discard.’ This will remove the new text, retaining the original. If you want to use the AI-generated text, click ‘apply,’ replacing the original text with the AI-generated one.
These steps provide an efficient and user-friendly process for applying AI-driven content creation within your tours, saving time and enhancing the quality of your content.
How can I use AI?
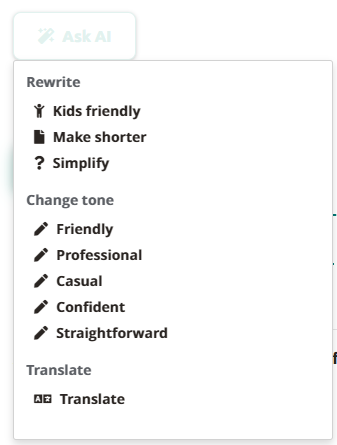
After selecting ‘Ask AI’ on our platform, you’ll see various prompts to help adjust your text. These options are categorized into three groups: ‘Rewrite,’ ‘Change Tone,’ and ‘Translate.’ Each category offers specific functions for rewriting, tone adjustment, or translating your original text to better align with your goals and target audience. Here’s an explanation of each prompt to assist you in choosing the most suitable option for your text.
Rewrite
Kids Friendly: Rewrites the text to make it appealing to children aged 7 to 12. It uses simple and positive language with short sentences and repetition for emphasis. The content is suitable for short audio segments, considering sensitive topics carefully.
Make Shorter: Intended to shorten the text by approximately 33% while preserving the essence and key themes. The result is a concise text that still clearly and coherently conveys the original message.
Simplify: Simplifies the text for readers with basic language knowledge (B1 level CEFR). It simplifies complex ideas using straightforward language and sentence structures while maintaining accurate and informative content, suitable for short audio segments in museum tours.
Change Tone
Casual: Adapts the text to an informal, casual tone. Designed for museum audio tours where a relaxed and accessible style is desired. The prompt retains the original message and factual content but changes the tone to address listeners more effectively.
Confident: Rewrites the text to reflect a confident tone. Useful for conveying authority and expertise in museum audio tours while preserving respectful and thoughtful treatment of sensitive historical and cultural subjects.
Friendly: Adjusts the text to a friendly tone. Ideal for creating a warm and inviting atmosphere in museum audio tours, with the text remaining respectful and considerate for a diverse audience.
Professional: Converts the text to a professional tone. Suitable for audio tours requiring a formal and authoritative approach while maintaining accuracy and respect for historical and cultural context.
Straightforward: Makes the text direct and uncomplicated. Intended for audio tours where clear, no-nonsense communication is desired, especially when addressing complex topics in a simple and understandable manner.
Translate
Translate: Can be used in two ways.
a. If you have entered text in the main language of the tour (main language), you can go to the translations. Here, the text in the main language is displayed in gray. Click on ‘translate’ to translate it into the language of the tab.
b. You can also manually enter text in the script field. If you want it translated into the language of the tab, click on ‘translate.’
IDentifiers are essential for activating content on Podcatchers. By holding the device close to the IDentifier, visitors can access the associated content. Adding an IDentifier to a stop links it to the content, with the first stop of each tour acting as the start of the tour and requiring an IDentifier for each language.
Note: Any IDentifier used to start a tour and select a language can be present only onceon your site. Otherwise, Podcatchers and PWA wouldn’t know which tour and language to start with. Other IDentifiersmay be used once per tour, but can be used just fine in multiple tours as a non-language IDentifier.
1. Adding IDentifiers for the tour languages
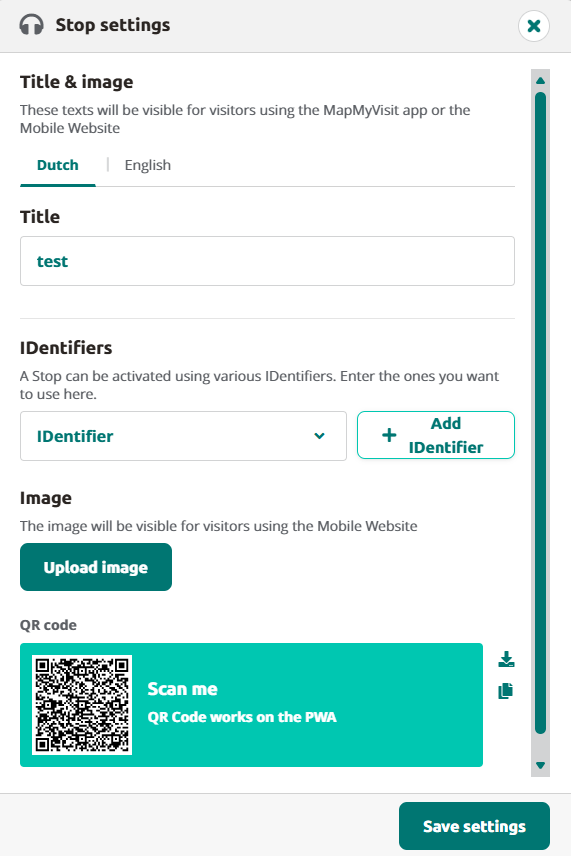
To add an IDentifier to start the tour in a language, click on the first stop and open the Stop Settings.
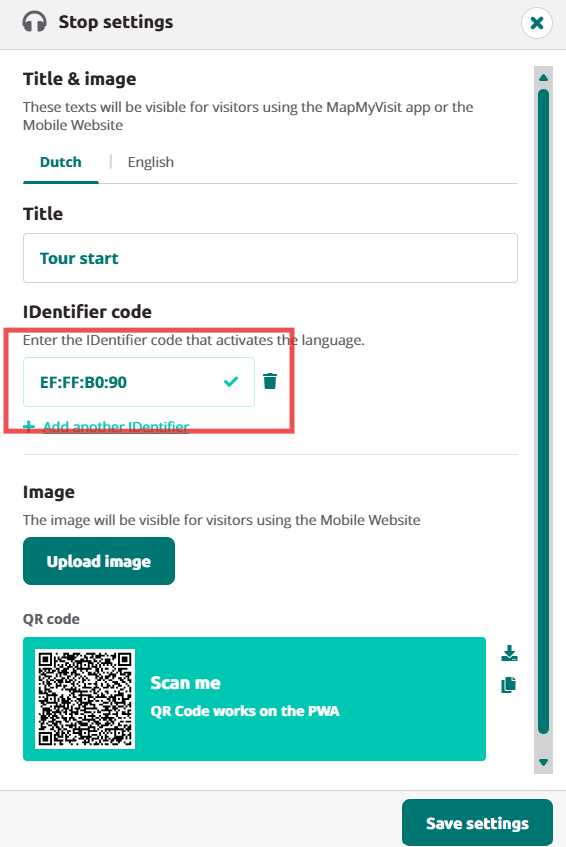
Enter the IDentifier code from the physical device and make sure the label’s flag matches the language. Then, add the IDentifier to each language by clicking the language codes and entering the IDentifier codes there.
Save the settings by clicking the Save button.
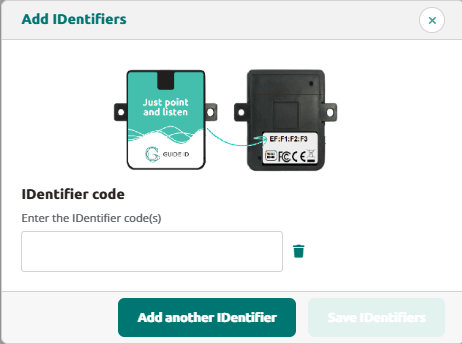
The IDentifier code can be found on the back of the IDentifier
2. Adding IDentifiers for other stops
Adding IDentifiers to other stops is just as simple. Click the stop, open Stop Settings, and add an IDentifier by clicking the Add IDentifier button and entering the IDentifier code.
Click the Add IDentifier button and enter the IDentifier code.
More IDentifiers can be added by clicking Add another IDentifier.
Note: Other language settings do not apply to IDentifiers here. They do, however, apply to the title of the stop.
3. Adding IDentifiers for an AV-sync stop
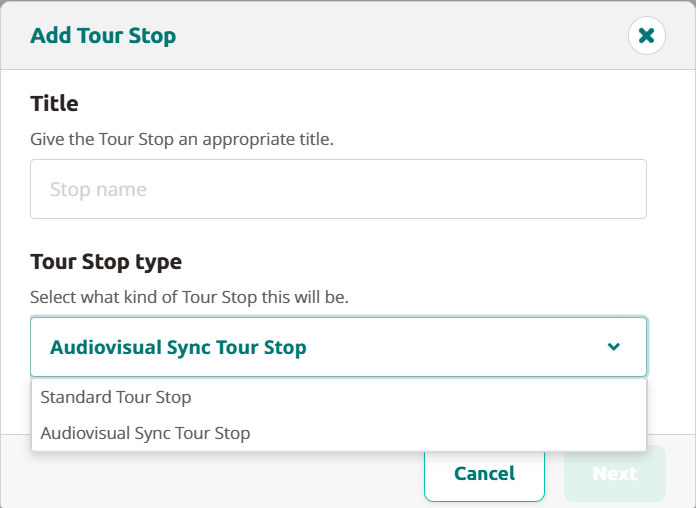
When creating an AV-sync stop simply click on +Add stop, give the stop a title and select Audiovisual Sync Tour Stop.
When clicking on Next a pop-up will show with information on the AV-synctool. After this you’ll be redirected to the stop, where you can add the audiofile created from the AV-sycntool. Click on stop settings to add the code you used in the AV-synctool and click on Save settings. Set up the Brainbox as instructed in the Brainbox manual.
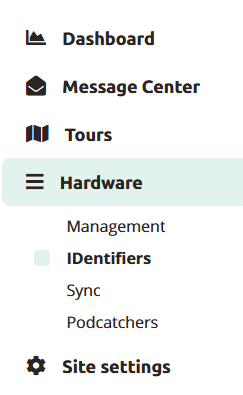
4. Hardware overview
The Hardware tab provides a quick overview of the battery levels in your IDentifiers.
Stop IDentifiers are the IDentifiers assigned to stops in your tours, and the list shows the last activation and battery status.
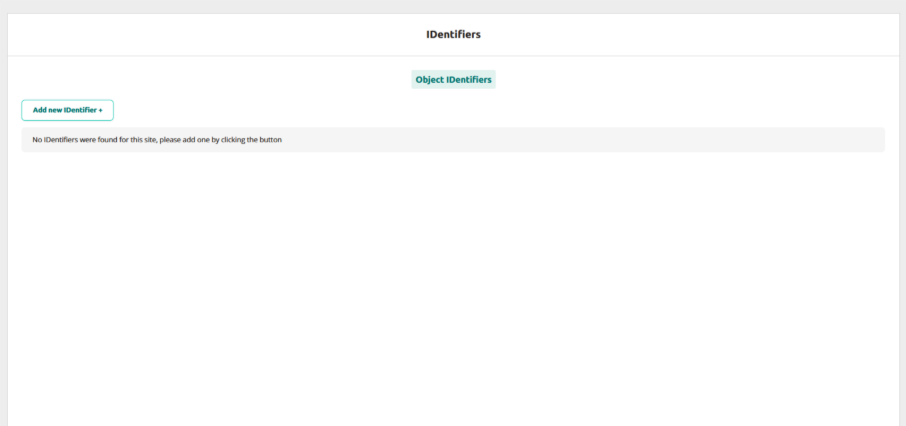
New IDentifiers can also be added using the Add new IDentifier button. You can add multiple IDentifiers at once, or save the IDentifiers and close the popup with the buttons.
Lastly, you have the option to link the IDentifier to a stop as the final step, although it is not required.
By following these simple steps, you can simply add and manage IDentifiers for your tours. Do not forget to publish the tour and synchronise the Podcatchers.
While a Stop is a place in the Site – usually near a piece of art in a museum, it can also be a room or an explanation for visitors – a Clip (or set of Clips) is the content that gets played when a Stop is triggered. This page gives you full control over how Clips flow into one another.
Note: If your Stop should just play one Clip, then you can skip most of the explanation and just use the Script field to add content or upload an audio file.
Stops
Stops correspond to locations in the real world and are used to play the appropriate audio. A Stop has one or more Clips that are linked together with Connections.
Creating a tour
Start Clip
Go to Tours and click on Add new Tour. Select what tour you like to create and click on continue.
Fill in the name of the tour, this will be visible for visitors using PWA. Select the desired device. It’s possible to use both Podcatcher and PWA and click on continue.
Select the main language. Select other languages if prefered.
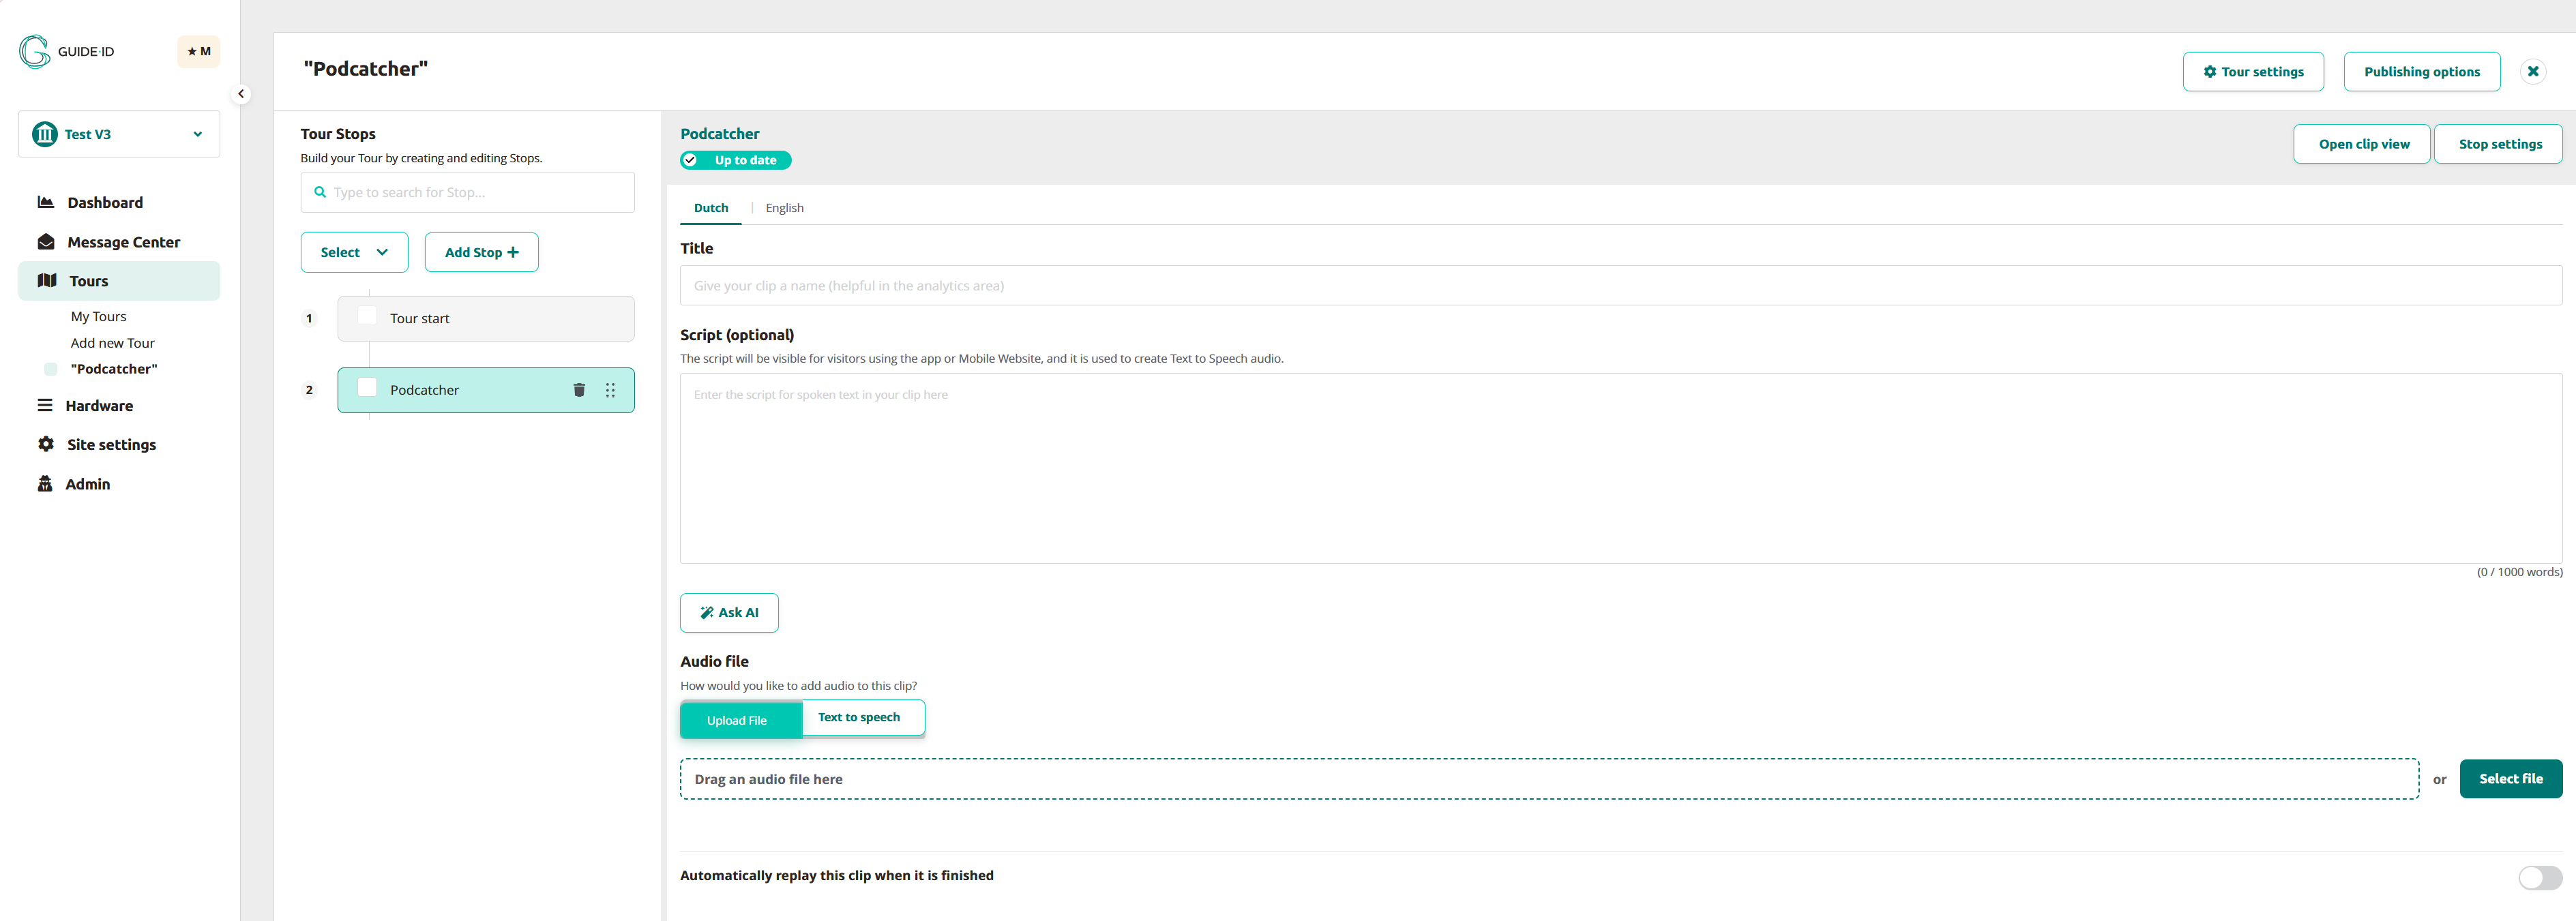
After clicking on create tour, a Stop with Tour Start is created. This is your tour start, a.k.a. you’re language start and is set in the languages you have chosen in the previous step.
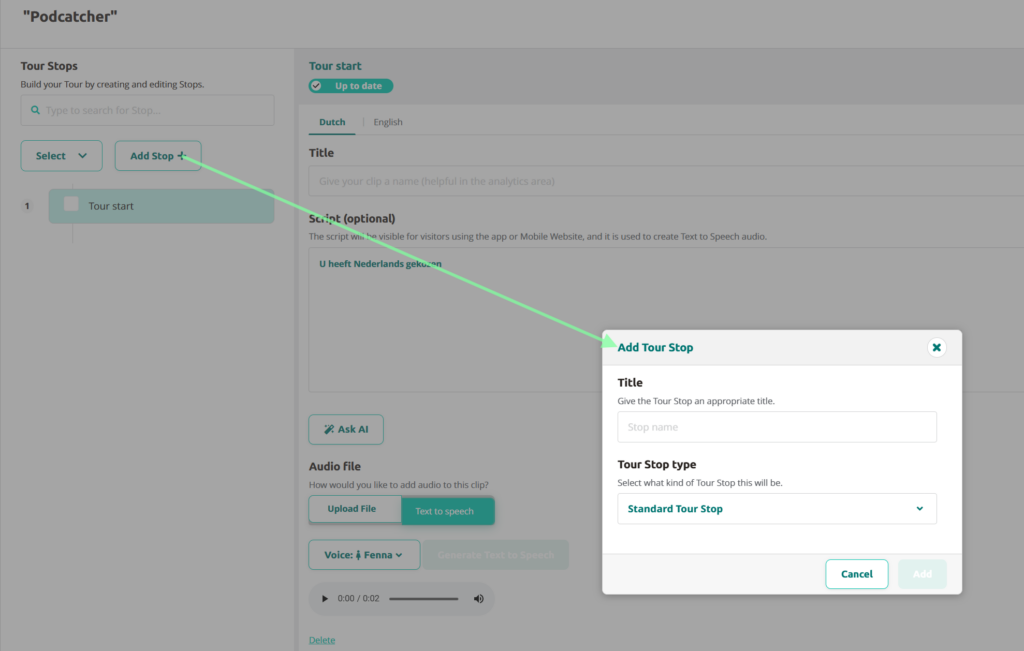
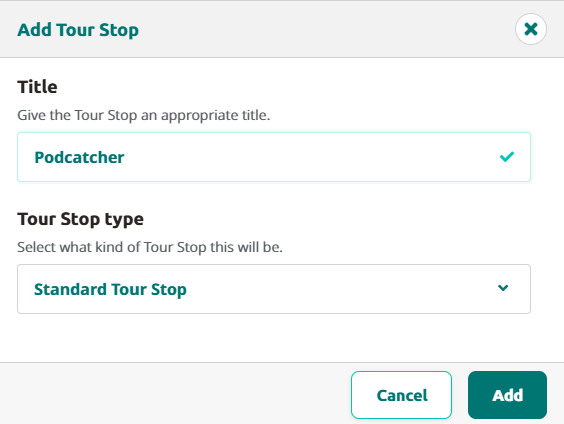
To add more stops, just click on Add Stop. This way you can add several stops to your tour. Don’t forget to give it a title.
Adding content
When adding content to a stop, you can choose whether you want to upload audio, or use the AI options with Text-to-Speech. Repeat the process for as many stops as you need to complete the tour.
Uploading audio: Click on select file or just drag the audio file to the uploadfield next to select file. Ask AI: Enhance or modify your script based on specific needs, such as simplifying text, adjusting the tone, or translating it into another language. Using Text-to-Speech: With Text-to-Speech you can simply generate the inserted script to audio file when clicking it
With the auto start you can activate one specific language for all Podcatchers when taken out of a dockingstation. Go to your “activate Podcatcher” stop or the stop which you would like to use as the start point of your tour in your list > click edit trigger > add > show more > choose automatic start and select the language (you do not need to fill in a identifier number as this is an automatic one)
Note; you can only choose one automatic start IDentifier per tour.
If you are re-using the IDentifiers from your existing tour for your new tour, you can publish the content of your new tour without connecting the object and Start IDentifiers.
As soon as the existing tour has finished you can disconnect the IDentifiers from the old tour and connect them to the new tour and publish again. After that you can archive the old tour. As the content of the new tour is already published and synchronized the synchronization of these added IDentifiers will not take long.
Please pay attention: if your audio has a lot of content of multiple languages we advise to upload, publish and sync one language at a time!


