Go to your tour at stop level > click on the stop > choose the tab general (in the top of the page) > check the right square box A/V sync > save. Go back to the stop and click edit trigger > add > show more and choose AV sync IDentifier > fill in the code for the normal mode or the flexible mode.
For the complete info about the AV sync go to https://help.guideid.com/kb/av-sync
Would you like to upload audio to your new Tour? replace an audiofile in a Stop? or add new audiofiles in a new language? No problem, in the Toureditor you can. Adding your audio can be done in 2 ways; Upload audiofiles from your files or use our Text-to-Speech option. Haven’t you made a tour yet? click here.
How?
- Log on to your account and open the Toureditor
- Open the Tour
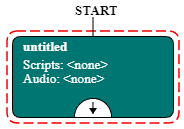
- Click on the Stop you would like to edit
- Open de Clipeditor
- Select the right language in the top and choose “Upload audio” or enter the text in the Script field and press “Generate from script”
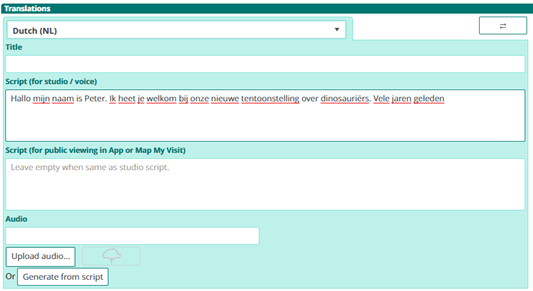
Note; If the language cannot be selected, you have to add the language to your Tour first
- When the audiofile has finished uploading, move on to the next Stop in the list and so on.
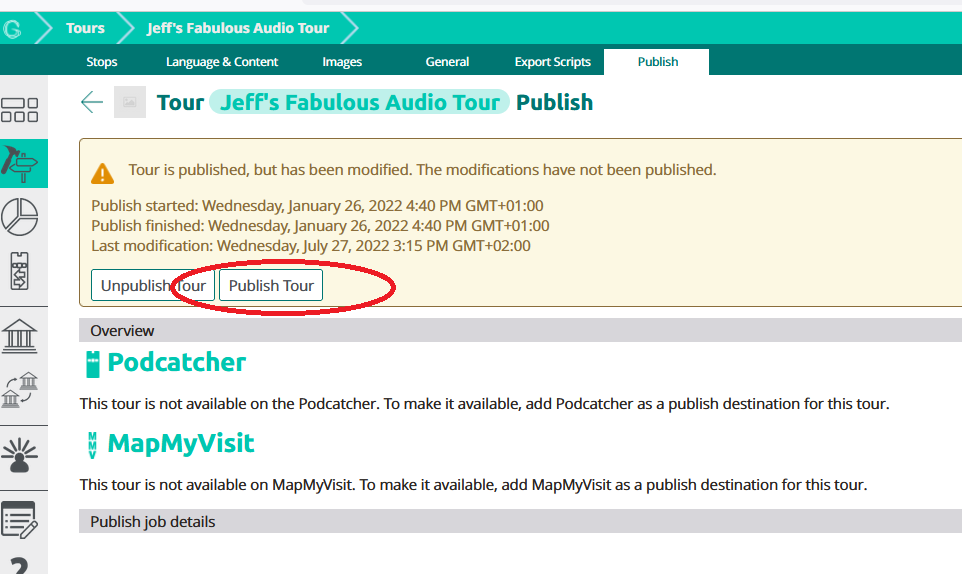
- When you have finished uploading all the new files, go back to the Tour and click on Publish (or) Unpublished changes on the right side of the screen
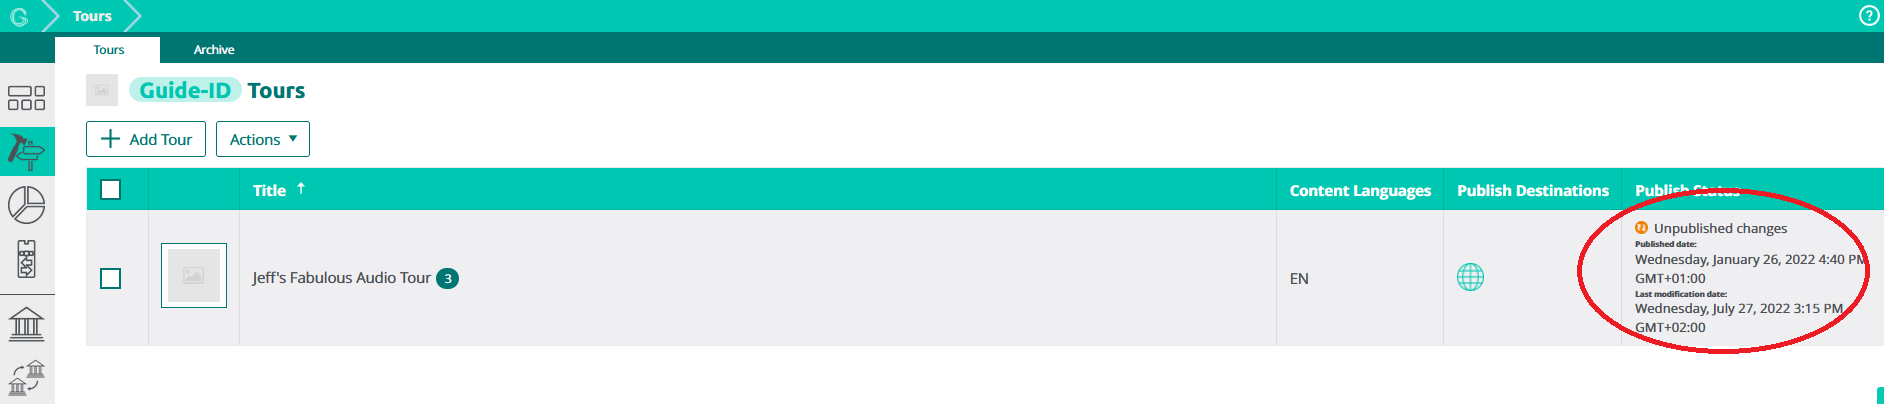
- Choose Publish Tour.
When done publishing, the new files are ready to be transferred onto the Podcatchers! You can start a synchronisation directly if you go to the Sync and click Sync now (make sure the Podcatchers are not available for visitors at that moment). Or you can wait for the automatic sync to start after opening hours
Yes, you can enter several IDentifier numbers for one language as a start IDentifier.
With the auto start you can activate one specific language for all Podcatchers when taken out of a dockingstation. Go to your “activate Podcatcher” stop or the stop which you would like to use as the start point of your tour in your list > click edit trigger > add > show more > choose automatic start and select the language (you do not need to fill in a identifier number as this is an automatic one)
Note; you can only choose one automatic start IDentifier per tour.
Object IDentifier:
Go to your stop list in the tour > click edit trigger > add > choose an object IDentifier and add the number which is on the back of the IDentifier > Place this IDentifier at the object in the museum
Start IDentifier:
Go to your “activate Podcatcher” stop or the stop which you would like to use as the start point of your tour in your list > click edit trigger > add > choose a start IDentifier (this will start the tour including the language of your choice). Enter the IDentifier number which is located on the back of the start/language identifier and chose your language.
If you are re-using the IDentifiers from your existing tour for your new tour, you can publish the content of your new tour without connecting the object and Start IDentifiers.
As soon as the existing tour has finished you can disconnect the IDentifiers from the old tour and connect them to the new tour and publish again. After that you can archive the old tour. As the content of the new tour is already published and synchronized the synchronization of these added IDentifiers will not take long.
Please pay attention: if your audio has a lot of content of multiple languages we advise to upload, publish and sync one language at a time!
Click the square in front of the tour you want to archive > click actions > remove > archive.
All analytics of the tour will be still available, and you can always place the tour back in your active tour list.
You can add the identifier and publish directly. The changes will then be transferred on to the Podcatchers during the next automatic daily sync.
With ‘tags’ it is easier to define your stops and filter your stops in a tour, for example all stops of a temporary exhibition will be shown together by using the selection “filter by tags” on the top and right side of the page.
You can find more information about tags on this page
When you want to copy a stop from a tour to another tour, you must go to the tour where you would like to add the new stop > click add stop > select existing. At the top at the right side you can chose all tours and select the tour and stop which you want to copy.