If you would like to add (or record) instructions for your visitors, on how to use the Podcatcher, you can use the text below;
ENG
“You start the commentary by pointing the player at an activation point, holding it no more than thirty centimeters (or one foot) away like a remote control. You don’t have to press any buttons; the commentary will start automatically after the beep.
The device has three buttons. Use the button on the left to turn the volume down and the button on the right to turn the volume up. Use the middle button to pause the commentary and then restart it.
If you are asked to select a fragment, the buttons function as options up, down, left, right.”
NL
“U start een verhaal door de speler binnen 30 cm op een activeerpunt te richten, net als een afstandsbediening. U hoeft daarbij geen toets in te drukken, het commentaar start vanzelf na de beep/pieptoon.
Er zitten drie toetsen op het apparaat. Met de linker toets zet u het volume zachter, met de rechter toets zet u het volume harder. De middelste toets gebruikt u om informatie te pauzeren en vervolgens weer te hervatten.
Tijdens een keuzefragment functioneren de toetsen als pijltjes keuzetoetsen”.
We also have icons available which you can use on your signage or language activation point.
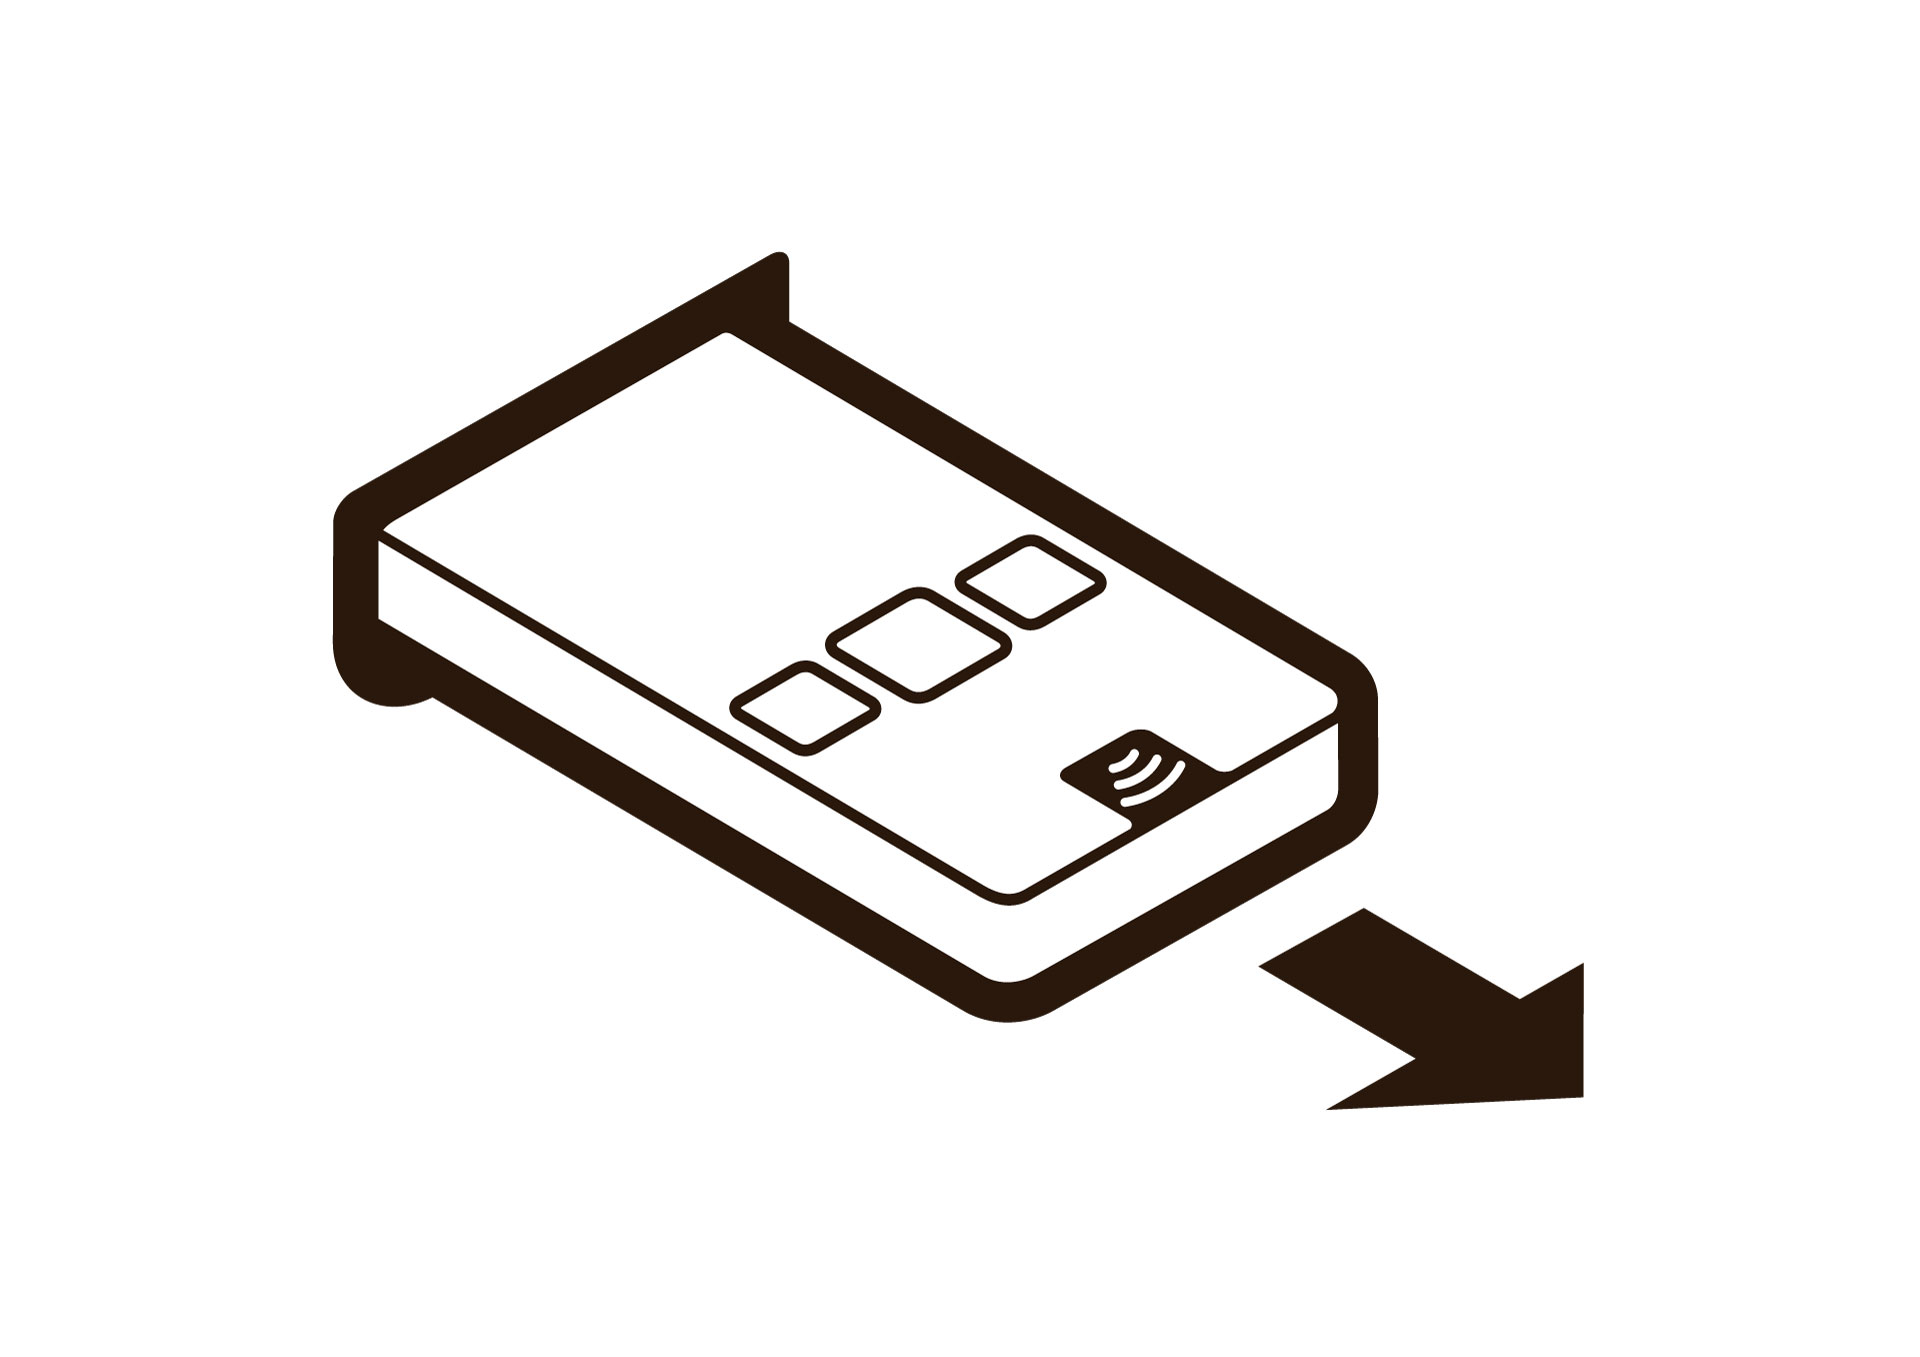
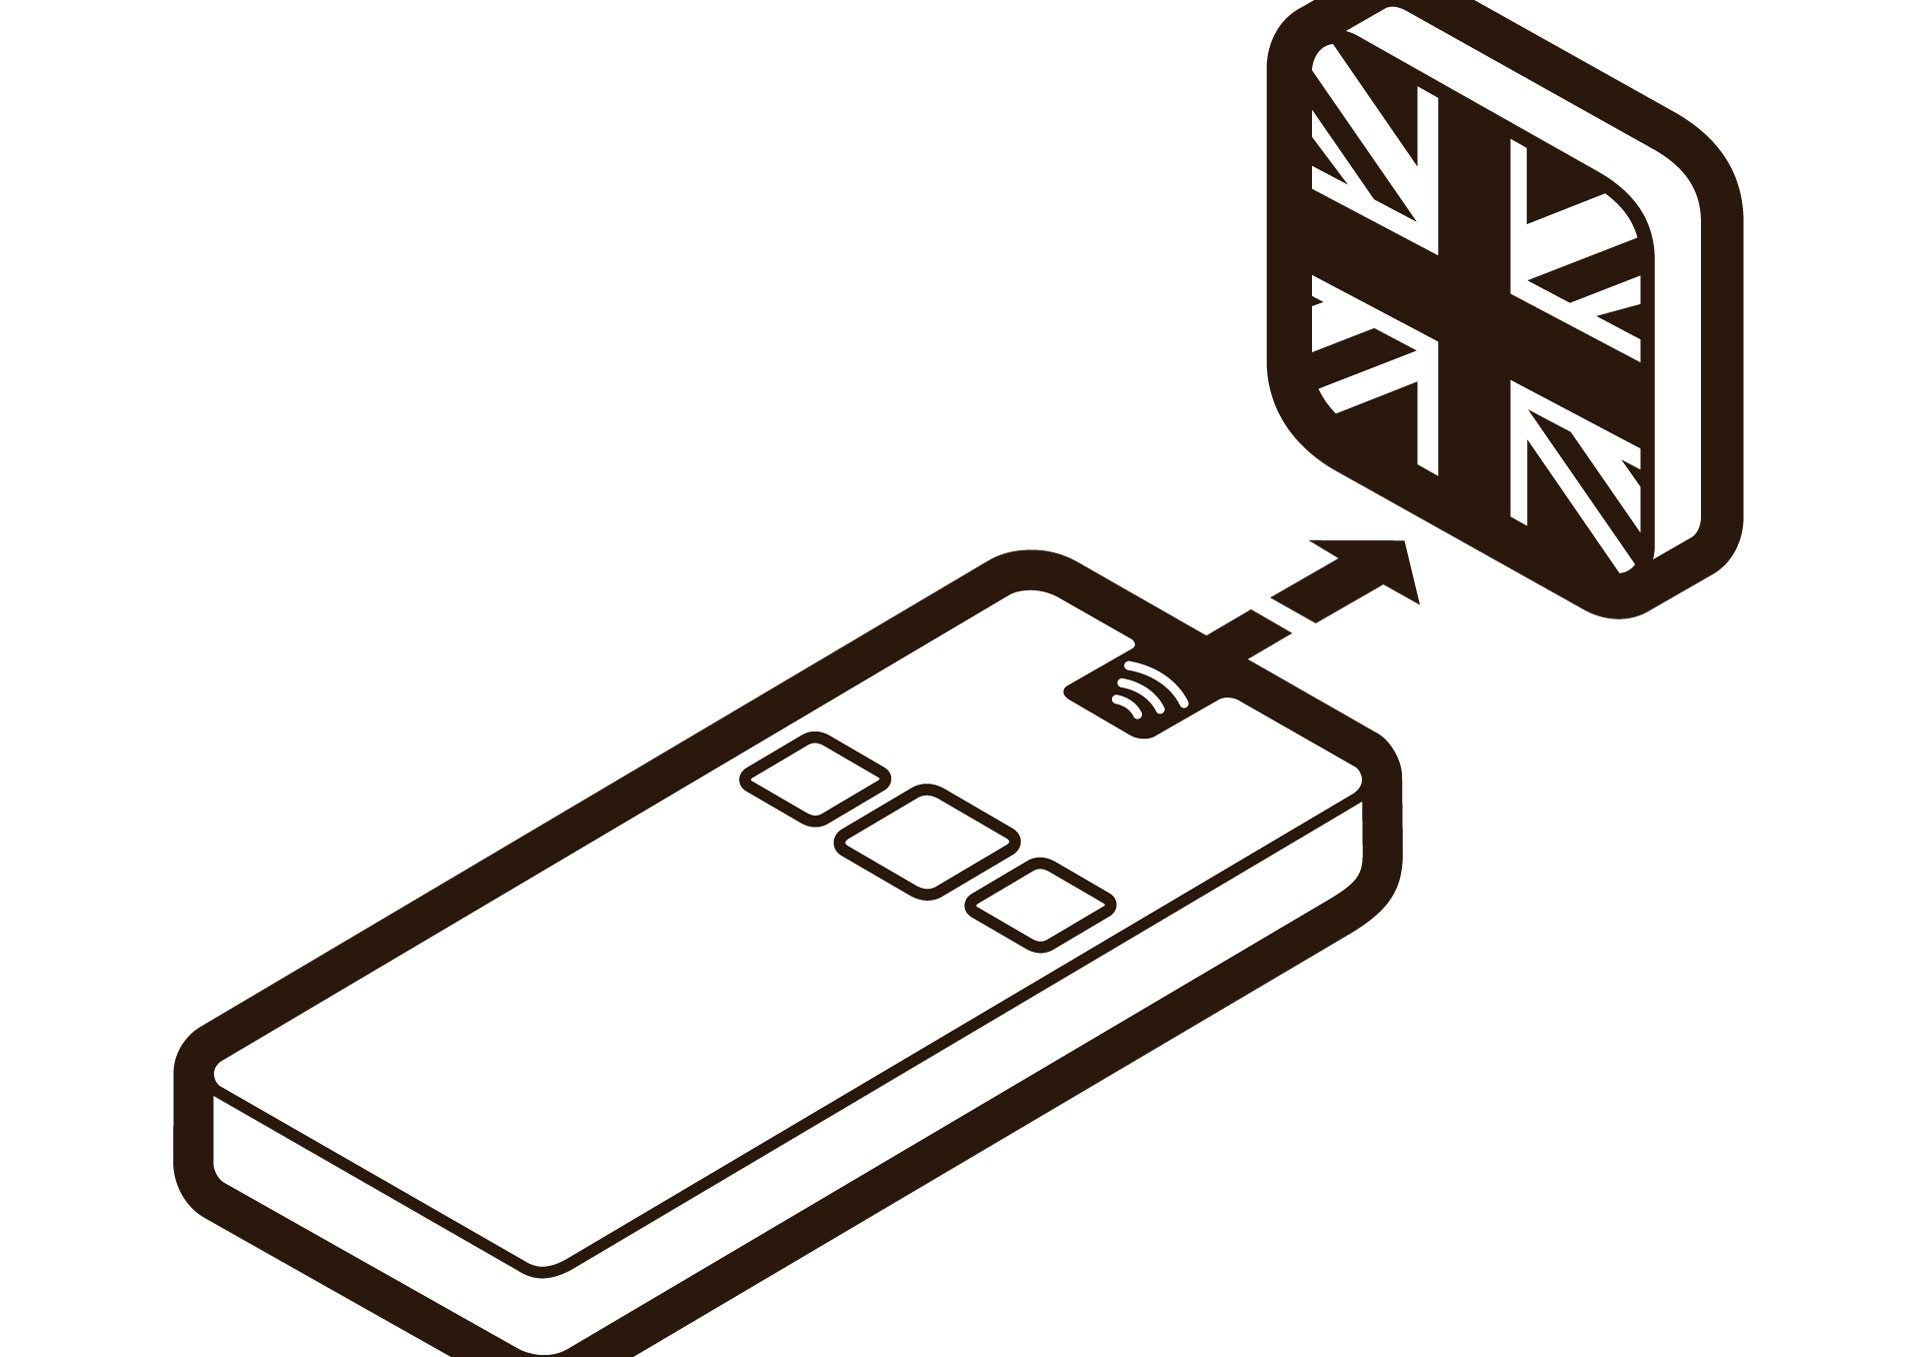
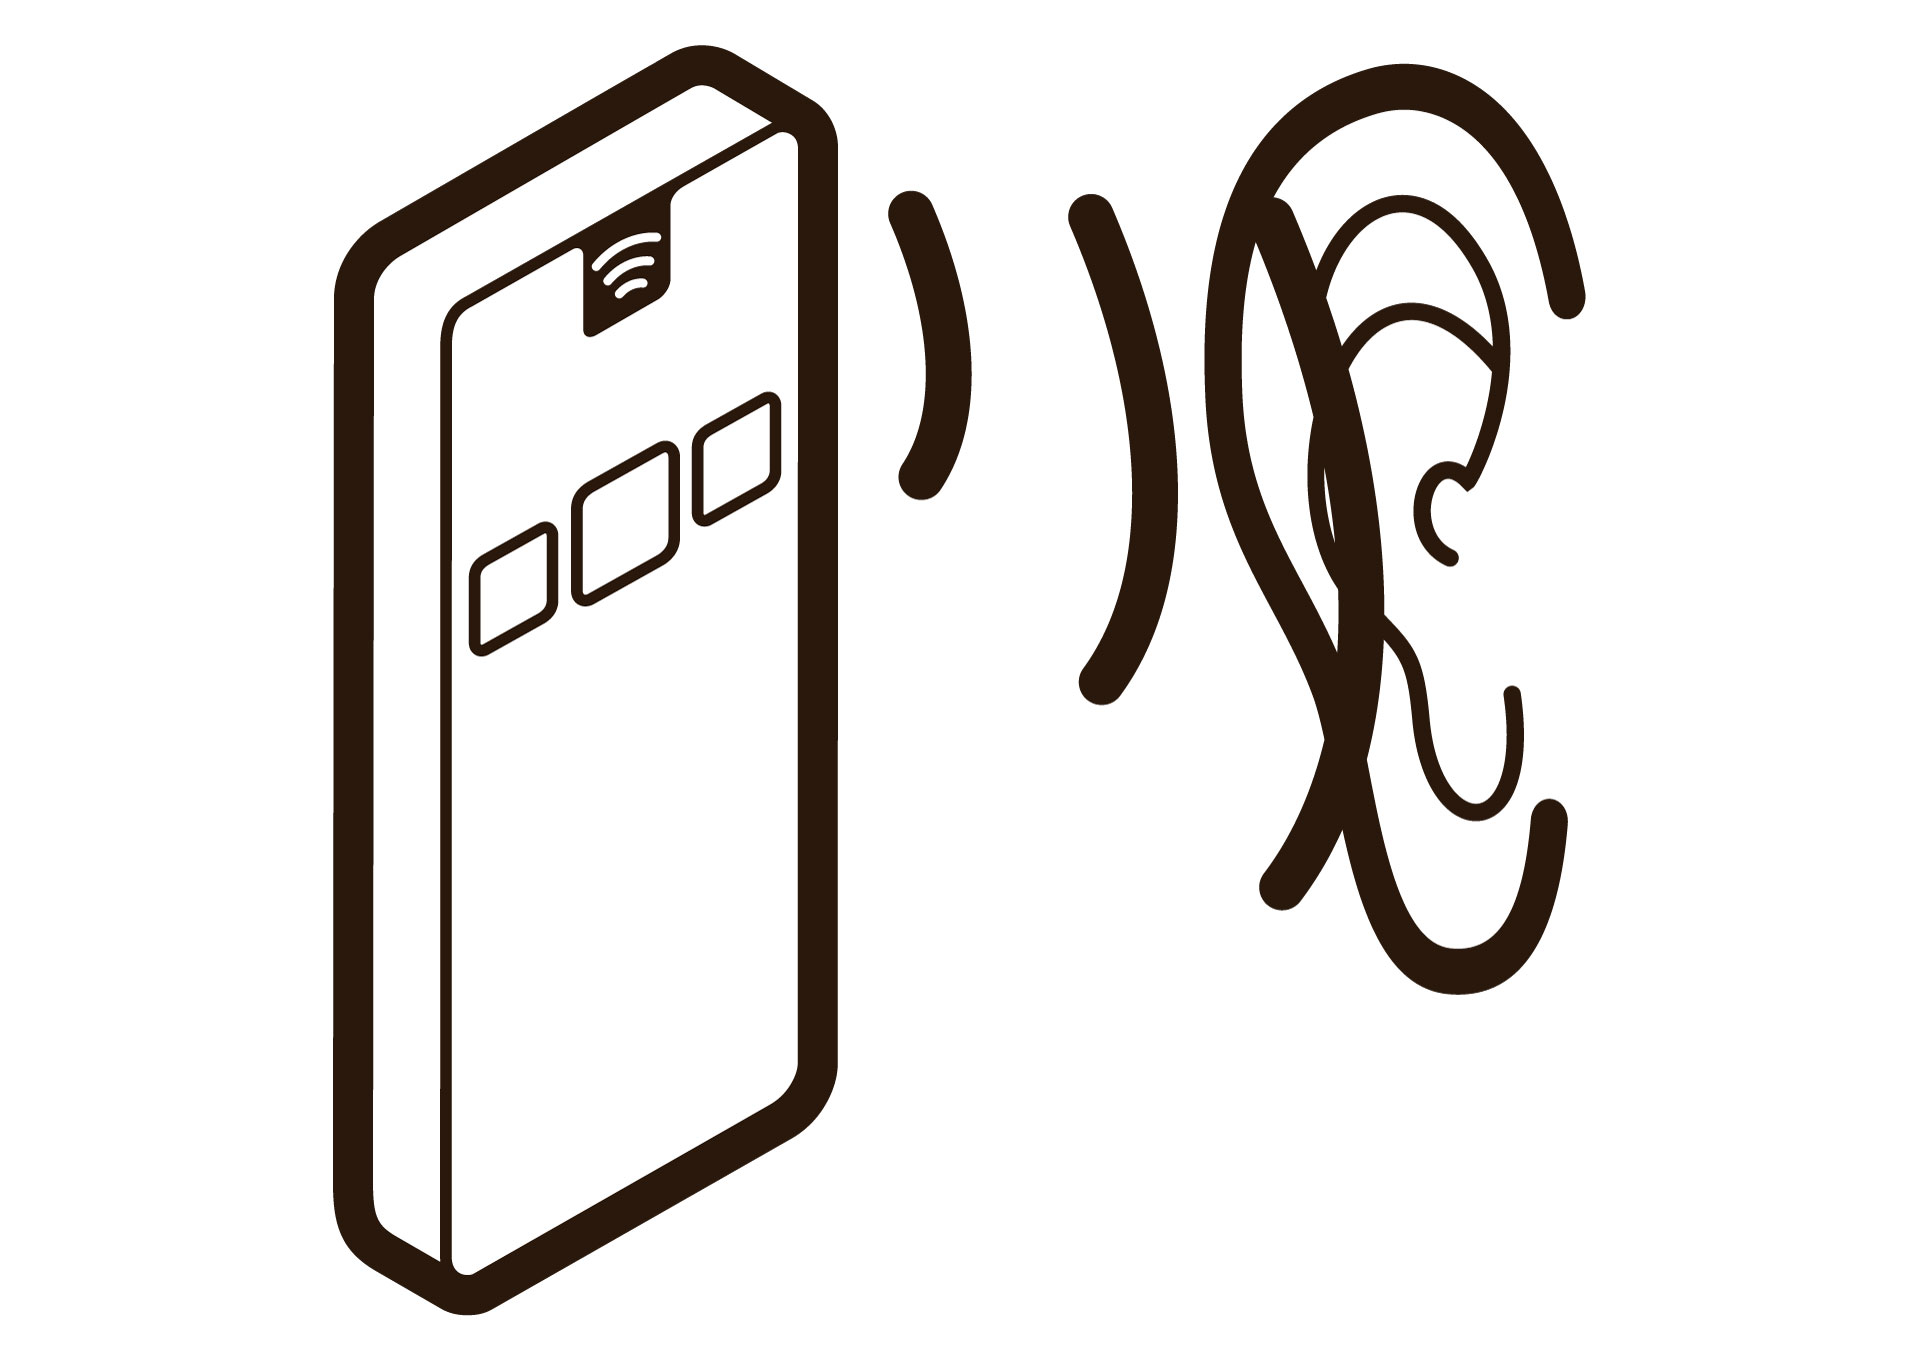
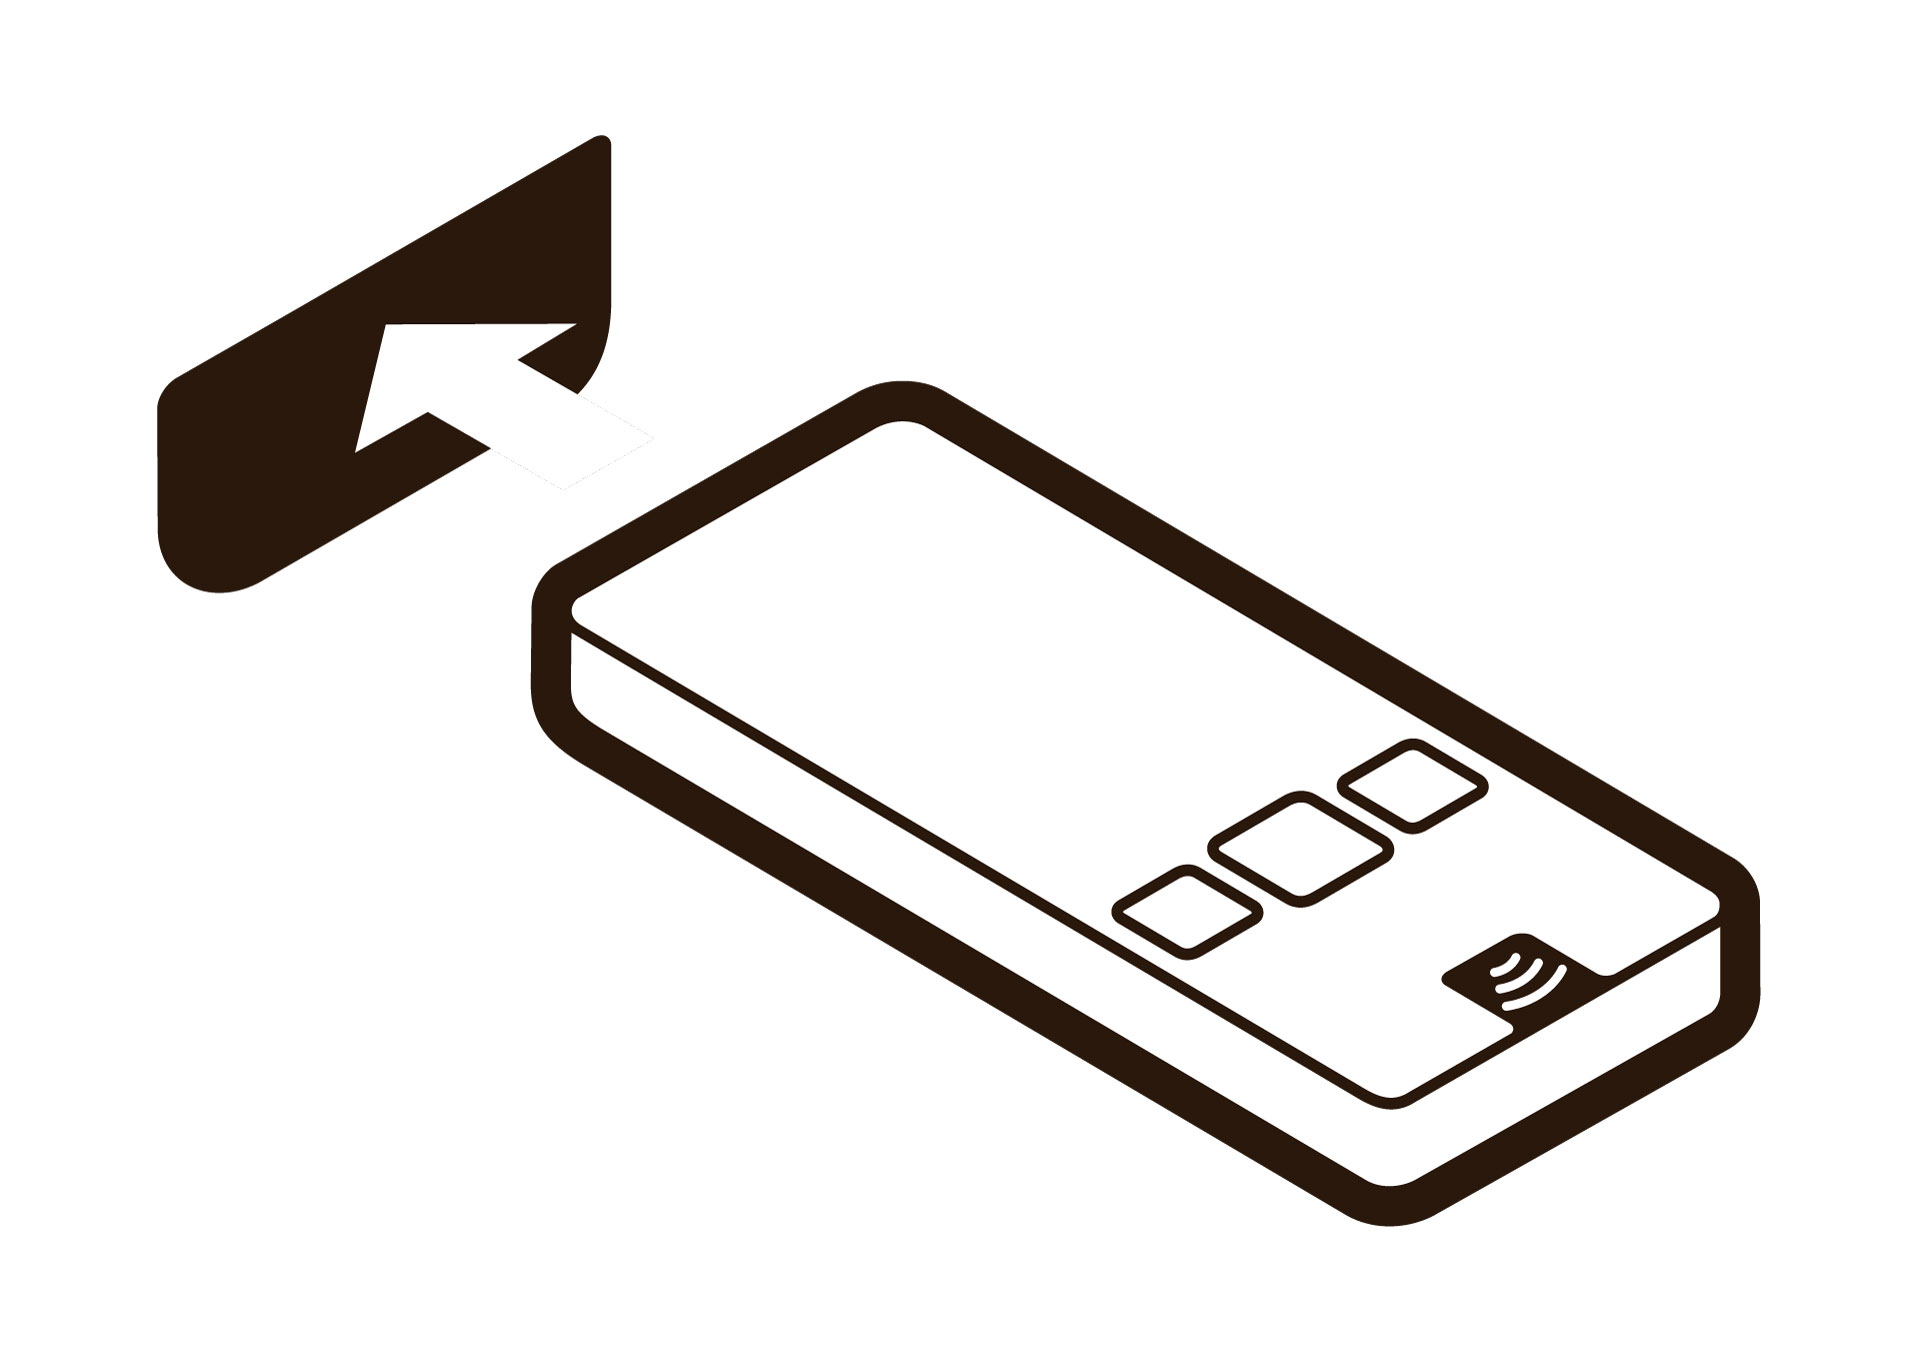
These icons are the first steps on how to activate the Podcatcher. You can download the 4 icons here;
Adobe Illustrates files:
1 Take Podcatcher out
2 Select a Language
3 Listen
4 Put Podcatcher back
JPG files:
1 Take Podcatcher out
2 Select a language
3 Listen
4 Put Podcatcher back
What should be taken into account when designing the labels for the Podcatcher and/or IDentifier?
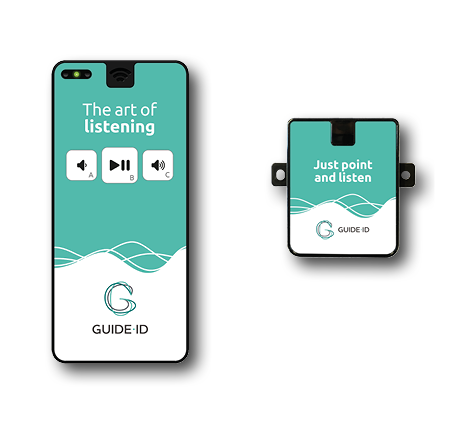
The design of the labels can be made based on templates. In the design module you’ll find a few locked fields which cannot be changed, such as the A/B/C buttons on the Podcatcher and the black ‘footer’ with the Guide ID text on the Podcatcher and IDentifier.
What kind of design can I make for my IDentifier label?
Most of our customers use one of the following in the design of their IDentifiers;
- A Wifi icon
- An audio speaker symbol
- A symbol / logo or icon which complements the exhibition
- Another logo (for instance from the museum)
- Or just a certain type of color
It can be anything you like, most ideal is when the design complements the Podcatcher design.
Using multiple designs for your IDentifiers (for instance numbers stop 1 – 25 or a range of different symbols) for which you only need to order 1 or 2 labels can be more expensive. Please contact our Customer Support at helpdesk@guide-id.com for more information.
Start IDentifier labels
You can offer a tour in many languages. To activate the right language on your Podcatcher you must point your Podcatcher at a Start IDentifier (this is a normal IDentifier connected as Start IDentifier trigger in the Toureditor). To distinguish the languages, we use labels. When you start as a new customer you will receive a package containing 10 different Start IDentifier language labels; NL/BE/UK/USA/FR/IT/DE/SP/MEX/Kids.
If you would like to add any additional language labels, please let our Customer Support know at helpdesk@guide-id.com and we will add them to the shipment.
If you would like to make custom language designs for the Start IDentifiers, you can design and order them using our design module. But keep in mind, ordering 1 or 2 labels of an individual design can be more expensive.
If you have faulty Podcatchers in need of some TLC, you can send them to us and we will replace them free of charge. As soon as we have received the Podcatchers, we will make sure to send new players back within 5 working days. If you really need the players on site ASAP for your visitors, we can send the return players upfront as soon as you can provide a shipping receipt to us.
How?
When sending hardware from abroad please specify for the customs that your shipment contains “warranty goods for repair” or “return shipment of rental equipment”
All hardware can be wrapped in a box (or more boxes in case of big quantities). Please wrap the hardware carefully and make use of padding material to avoid damaging. Make sure to separate the Podcatchers and IDentifiers from each other while in a box.
The box(es) can be shipped to:
Guide ID
Attn.: Return Department
Leeuwenbrug 117
7411 TH Deventer
The Netherlands
When sending back (faulty) hardware, the best thing is to use a courier for the return shipment (ex. UPS / FEDEX etc.). Using the local mail can take a long time before we receive the hardware. Please let us know the shipment is on it’s way (preferably with a track&trace) and always make sure to add the sender’s details (who is sending the package to us) and to add the value of the package. For Podcatchers this value is 15 euro per piece, IDentifiers 5 euro per piece, Dockingstations 18 euro per piece and the Syncbox 110 euro per piece.
Shipments with PostNL
Please note that since the 1st of July, PostNL has made changes in their notification process. This means they no longer leave a paper note behind when delivering a package to us outside office hours. They only send a digital notification.
So make sure to specify our email adres; helpdesk@guide-id.com when sending a package with PostNL to avoid the package being send back to you and double your shipment costs.
You will always receive our hardware together with our standard Guide ID labels. But you can also create custom labels for your Podcatchers and IDentifiers using the templates provided in the design module.
This is what our standard Podcatcher and IDentifier label looks like;
 English
  Nederlands
  Français