Actionable Insights transforme les données de votre système Podcatcher Pro en recommandations opportunes qui vous aident à prévenir les perturbations et à optimiser l'expérience des visiteurs. Ce système de notification intelligent vous tient informé de l'état du matériel et des performances de la tournée, ce qui vous permet de résoudre les problèmes potentiels avant qu'ils n'affectent vos invités.
Référence rapide
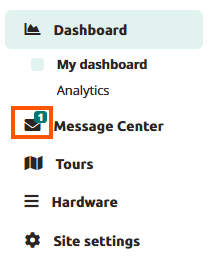
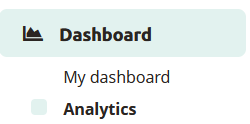
- Accéder au centre de messagerie : Tableau de bord → icône Centre de messages
- Configuration du courrier électronique : Profil → Préférences de messagerie
- Niveaux de notification : Mineure, modérée, grave (classée par ordre d'urgence)
- Principaux avantages : Maintenance proactive, réduction des temps d'arrêt, optimisation du flux de visiteurs
- Caractéristiques principales : Surveillance du matériel, informations sur les performances des tournées, alertes par courrier électronique
Comment fonctionne Actionable Insights
Le système Actionable Insights surveille en permanence votre environnement Podcatcher Pro, en analysant à la fois l'état du matériel et les interactions avec les visiteurs afin d'identifier les possibilités d'amélioration. Lorsque le système détecte un problème ou une opportunité d'optimisation, il génère une notification avec une recommandation d'action claire.
Système de notification
Actionable Insights classe les notifications par priorité pour vous aider à vous concentrer sur ce qui compte le plus :
- Notifications mineures (informatives)
- Mises à jour informatives ne nécessitant pas d'action immédiate
- Exemples : mises à jour du système disponibles, arrêts de visite peu fréquentés
- Utile pour la planification et l'optimisation à long terme
- Notifications modérées (demande de l'attention)
- Questions à traiter pour maintenir une performance optimale
- Examples: low IDentifier batteries, missing Podcatcher devices
- Important pour la maintenance préventive
- Notifications graves (nécessitant une action immédiate)
- Questions critiques nécessitant une attention immédiate
- Exemples : camps de base hors ligne, Podcatchers en état d'erreur
- Essentiel pour éviter de perturber l'expérience des visiteurs
Utilisation du centre de messagerie
Le centre de messages est le point central de toutes les notifications. Il fournit des informations claires sur chaque problème et les solutions recommandées.
Accès au centre de messages
- Se connecter à la plateforme Guide-ID
- Recherchez l'en-tête Message Center dans la barre supérieure gauche.
- Cliquez sur pour ouvrir votre tableau de bord de notification

Comprendre les alertes du centre de messagerie
Chaque notification dans le centre de messages comprend
- Icône d'alerte indiquant le niveau de priorité
- Description claire du problème détecté
- Recommandation réalisable pour résoudre le problème
- Horodatage indiquant la date à laquelle le problème a été détecté
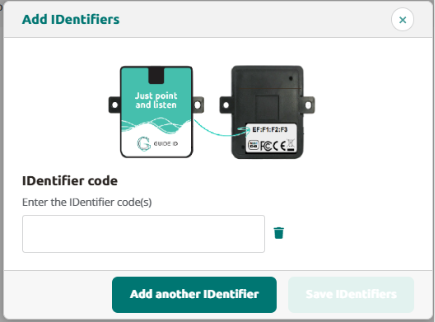
For example, a typical notification might alert you that “IDentifier with serial number BP.000.433 is low on battery” and recommend that you “Please replace or recharge the battery to keep using this IDentifier.”

Remarque : Pour une référence complète de toutes les notifications possibles et des actions recommandées, voir [Types de notifications et recommandations].
Gestion des notifications
Le Centre de messages vous permet de
- Examiner toutes les notifications actives en un seul endroit pratique
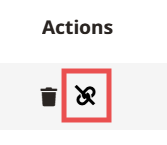
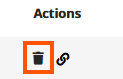
- Annuler les notifications une fois que vous les avez abordés
- Suivi de l'état de la résolution car le système supprime automatiquement les problèmes corrigés
Considérations sur l'accessibilité
Le centre de messages est conçu pour présenter des informations critiques d'un seul coup d'œil, ce qui le rend très utile dans les musées très fréquentés, où le personnel n'a que quelques instants entre les interactions avec les visiteurs pour vérifier l'état du système.
Système de notification par courrier électronique
Pour que vous ne manquiez jamais les alertes importantes, Actionable Insights va au-delà de la plateforme avec des notifications stratégiques par e-mail.
Types d'alertes par courrier électronique
- Emails hebdomadaires de synthèse
- Vue d'ensemble de toutes les notifications en cours
- Priorité au niveau d'urgence
- Fournit un moyen pratique de rester informé même lorsque l'on n'est pas connecté à la plateforme
- Emails d'alerte urgents
- Envoyé lorsque des problèmes critiques nécessitent une attention immédiate
- Se concentrer spécifiquement sur les notifications graves
Personnalisation des préférences en matière de courrier électronique
Vous pouvez adapter votre expérience de notification aux besoins de votre musée :
- Naviguez vers Profil -> Préférences de messagerie dans la plateforme Guide-ID
- Sélectionnez Préférences de notification
- Choisissez les types d'e-mails que vous souhaitez envoyer.
- Sauvegarder vos paramètres
Principales capacités de surveillance
Actionable Insights surveille deux aspects principaux de votre expérience muséale :
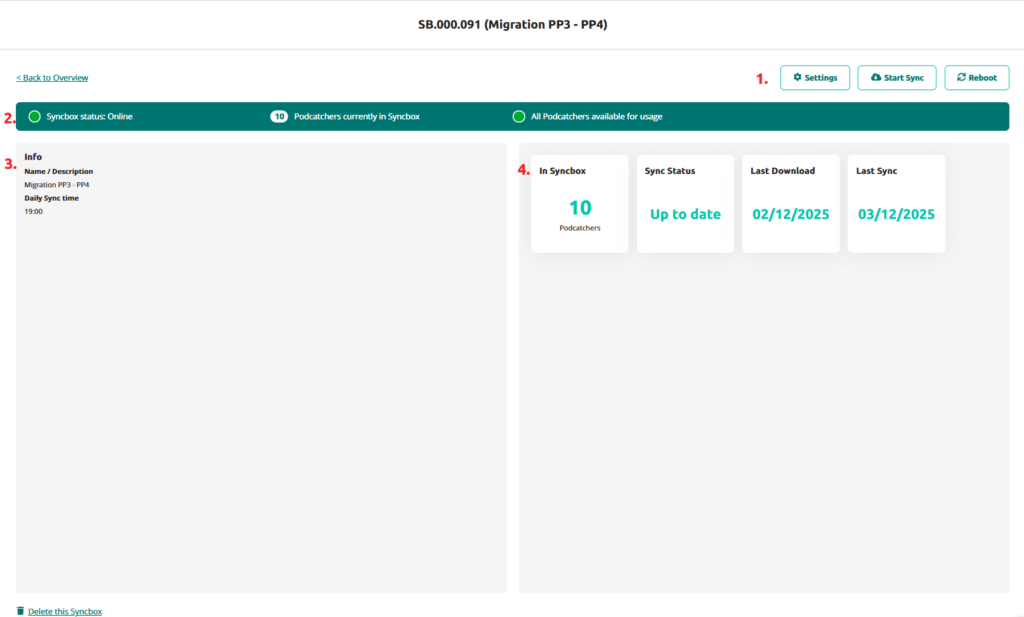
1. Surveillance de l'état du matériel
Le système suit de manière proactive l'état de votre matériel Guide-ID, y compris :
- IDentifier Niveaux de batterie
- Alertes lorsque les piles atteignent des seuils bas
- Permet d'éviter les interruptions de la visite audio dans des zones d'exposition spécifiques
- Permet une maintenance planifiée plutôt que des interventions d'urgence
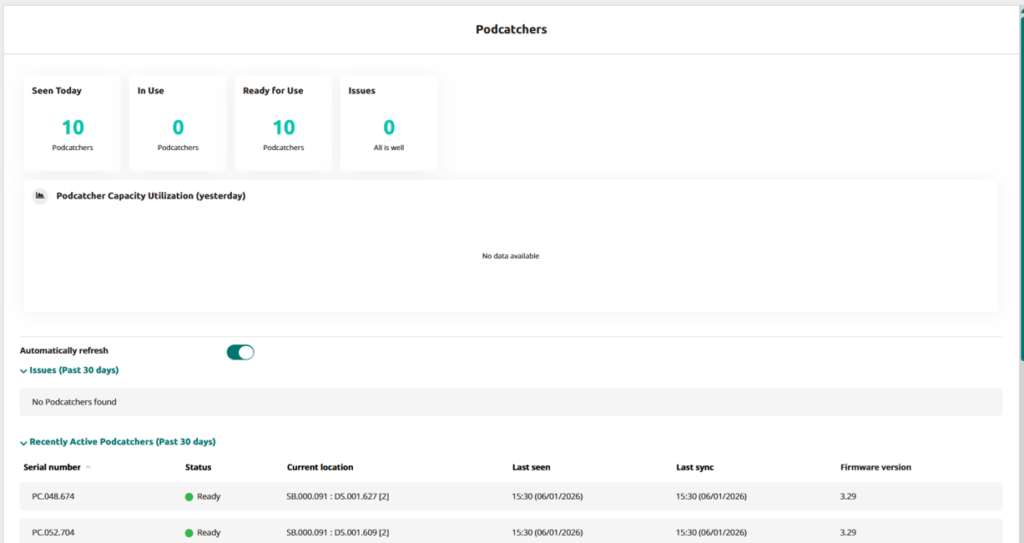
- Statut de l'appareil Podcatcher
- Identifie les appareils manquants pour maintenir l'inventaire
- Détecte les Podcatchers en état d'erreur
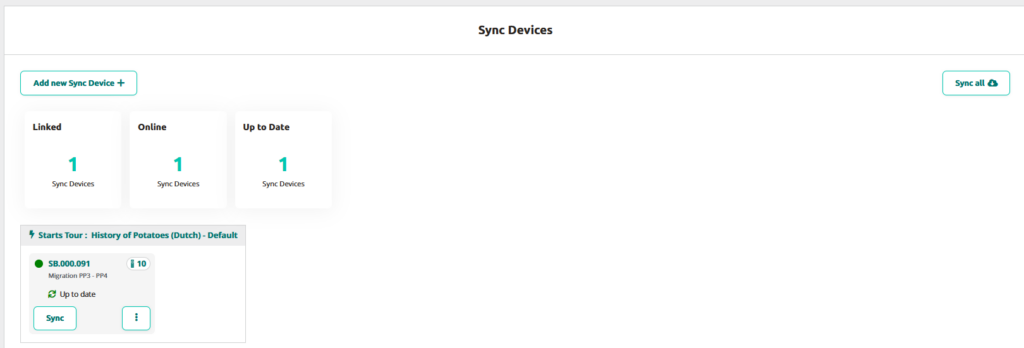
- Moniteurs Connectivité du dispositif de synchronisation
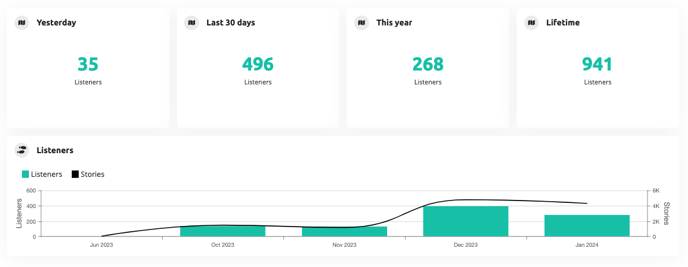
2. Analyse des performances des tournées
Au-delà du matériel, Actionable Insights permet d'optimiser l'expérience du contenu :
- Analyse des schémas d'utilisation
- Identifie les arrêts de visite sous-utilisés ou très populaires
- Vous aide à comprendre les schémas d'engagement des visiteurs
- Fournit des informations pour l'amélioration du contenu
Résolution des problèmes Informations exploitables
Si vous rencontrez des problèmes avec le système Actionable Insights, essayez ces solutions simples :
| Enjeu | Solution |
|---|---|
| Ne pas recevoir de notifications par courrier électronique | Vérifiez votre dossier spam et vérifiez que votre adresse e-mail est correcte dans les paramètres de l'utilisateur. |
| Absence de notifications attendues | Confirmez que vos préférences de notification sont correctement configurées et que vous n'avez pas rejeté le message. |
| La notification d'abandon réapparaît | Le problème sous-jacent peut ne pas être entièrement résolu |
Avertissement
If you dismiss multiple IDentifier battery warnings without replacing batteries, you risk unexpected audio tour disruptions for your visitors. Always follow recommended actions when possible.
Indicateurs de réussite
Vous saurez que vous utilisez efficacement Actionable Insights lorsque.. :
- Les problèmes matériels évitables diminuent dans votre musée
- Le personnel peut traiter les problèmes potentiels avant qu'ils n'affectent les visiteurs
- Votre processus de remplacement de la batterie devient proactif plutôt que réactif
- Diminution du nombre d'incidents liés à la disparition de Podcatcher
Pour toute assistance supplémentaire concernant Actionable Insights, contactez le service d'assistance de Guide-ID via le centre d'aide de la plateforme ou envoyez un courrier électronique à l'adresse suivante Helpdesk@guide-id.com.

 Les visites guidées