Manage Site
A Site has a few properties that can be configured. Some are left blank and have to be filled in, while others have default values and you probably won’t have to touch them (but you can if you wish). The following pages can be used to manage those settings:
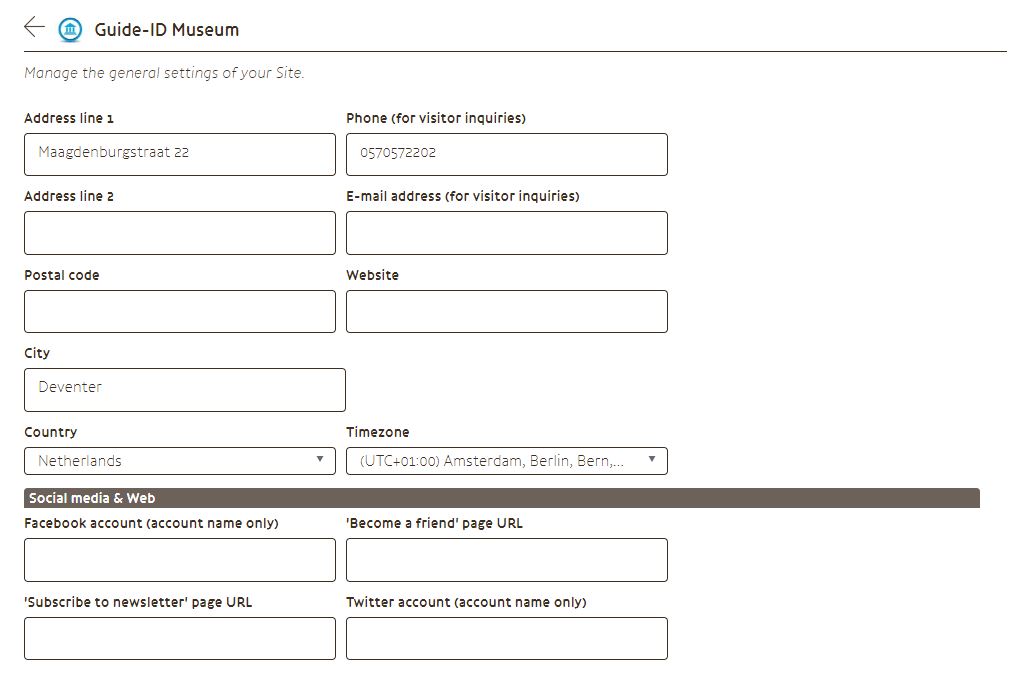
Tab – General
General settings for your Site can be managed here. Make sure your Site’s details are correct: This not only helps us greatly whenever we need to assist you, but more importantly also lets visitors know about your contact details so they can actually visit you. These details are shows in the Podcatcher App, MapMyVisit, and on guideid.com.
Tab – Language & Content
On this page you can enter the localized details of your Site, so they can appear in the proper language in the Podcatcher App and MapMyVisit.
Note: Only languages actually used in your Tours are shown here. Read more about adding (or removing) languages from Tours here.
![]()
Most fields are self-explanatory, but to clarify some of them:
Description: A description of your Site which is used in the Podcatcher App, or used as a backup for MapMyVisit when the MapMyVisit Introduction is left empty.
MapMyVisit Introduction: As the name implies, this is the introduction text that appears on MapMyVisit only. If left blank, the website will display the Description instead.
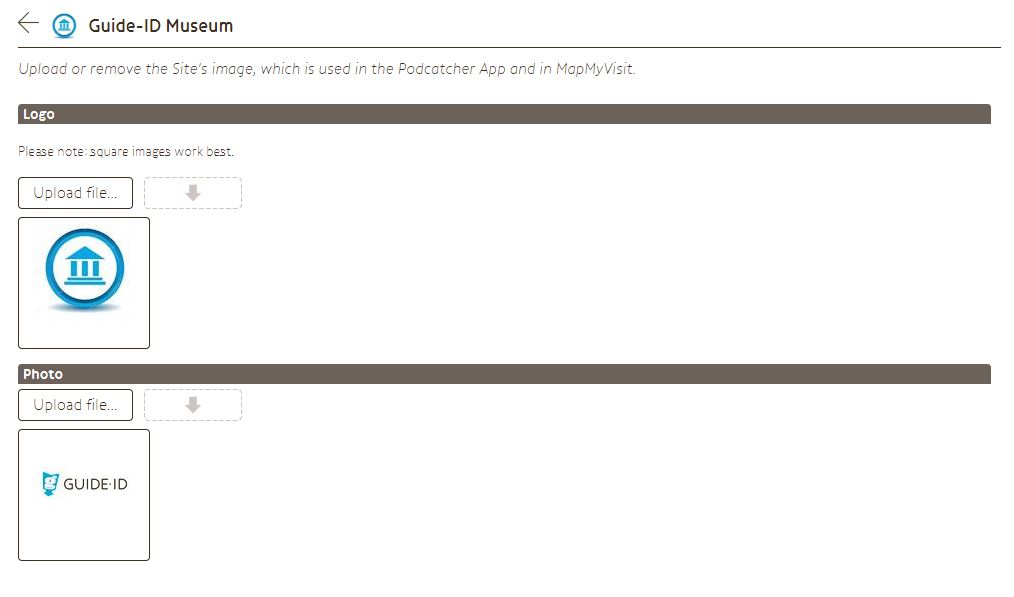
Tab – Images
Here you can manage the images for your Site. For the best result, upload the best quality images you have. The three you can upload are:
Logo: This should be a square image of at least 100 x 100 pixels.
Photo: Any square image larger than 300 x 300 pixels will do.
MapMyVisit App skin: This should be a portrait image of at least 1080 x 1920 pixels
Tab – Podcatcher Settings
On this page you can configure all of your Site’s Podcatchers’ settings.
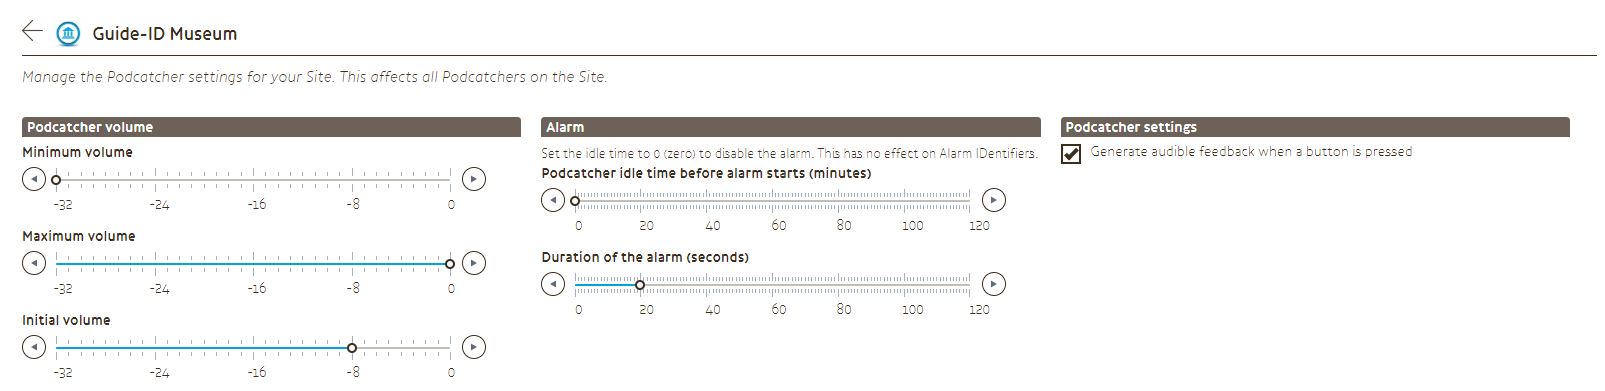
Podcatcher Volume
The value 0 represents the maximum volume, -32 effectively represents silence.
Minimum volume:Minimum volume that can be set by the visitor when they press the volume down button.
Maximum volume: Maximum volume that can be set by the visitor.
Initial volume: The Podcatcher’s initial volume when it is taken out of its dock.
Alarm
The Podcatcher can sound the alarm if it ‘thinks’ it’s being taken out of the Site. See this article for more information about alarms.
Idle time: If this is set to something above zero, the Podcatcher will play its alarm after the set number of minutes.
Duration: How long will the alarm continue to sound, in seconds. The alarm will also stop when any button is pressed.
Podcatcher settings
Generate audible feedback when a button is pressed: When this checkbox is checked, the Podcatcher will make an audible click noise when a button is pressed.
Tab – Manage Users
In this screen you can manage the Portal users that are allowed to see and/or make changes to the various parts of your Site. You can only access this page if you’re a Site administrator.
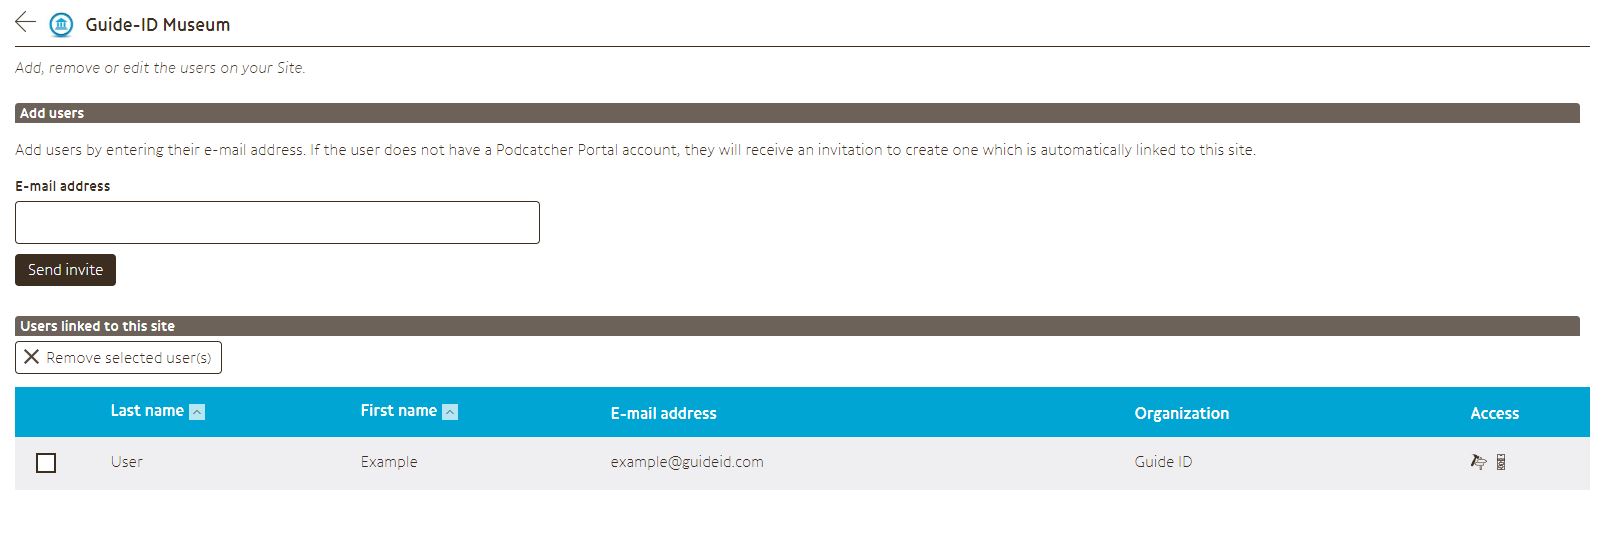
Add users
Adding a user to this Site is done through the e-mail invite box. If you enter an e-mail address that already exists on the Portal, they will be automatically granted access to the Site.
If the e-maill address doesn’t exist yet, they will be sent an invitation link instead. By default, a new user is granted access to the TourEditor and Sync parts of the Portal for your Site.
Users linked to this site
The list of users shows the name, e-mail address, organization and access rights in the list. Checking the box next to user accounts allows you to remove them from your Site with the [ Remove selected user(s) ] button.
Clicking on a user will take you to the User rights page, explained below.
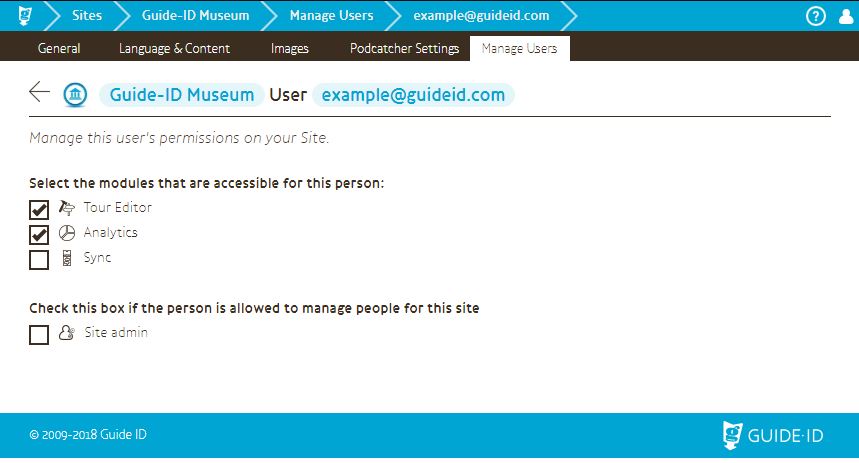
User rights
After clicking on a user, their access rights page opens up. Here you can change which parts of your Site they’re allowed to access, as well as the ability to promote or demote them to/from a Site administrator. Note that you can’t revoke your own Site administrator rights.
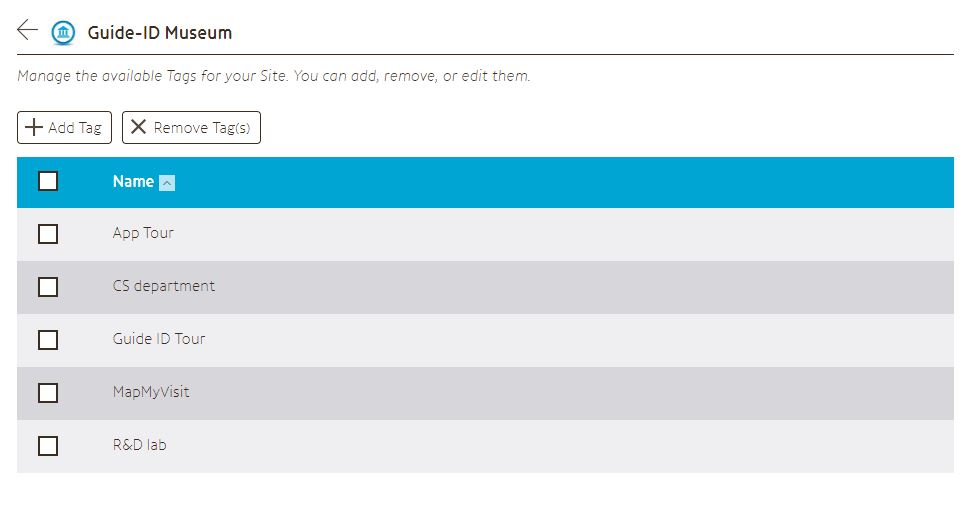
Tab – Tags
You can add, remove or edit Tags for your Site here. Click the [ + Add Tag ] button to create a new one, click a Tag to edit it, or tick the checkboxes next to Tags you want to remove and click the corresponding button to remove the Tags.
Note: Removing a Tag will also remove it from all of the associated Stops.